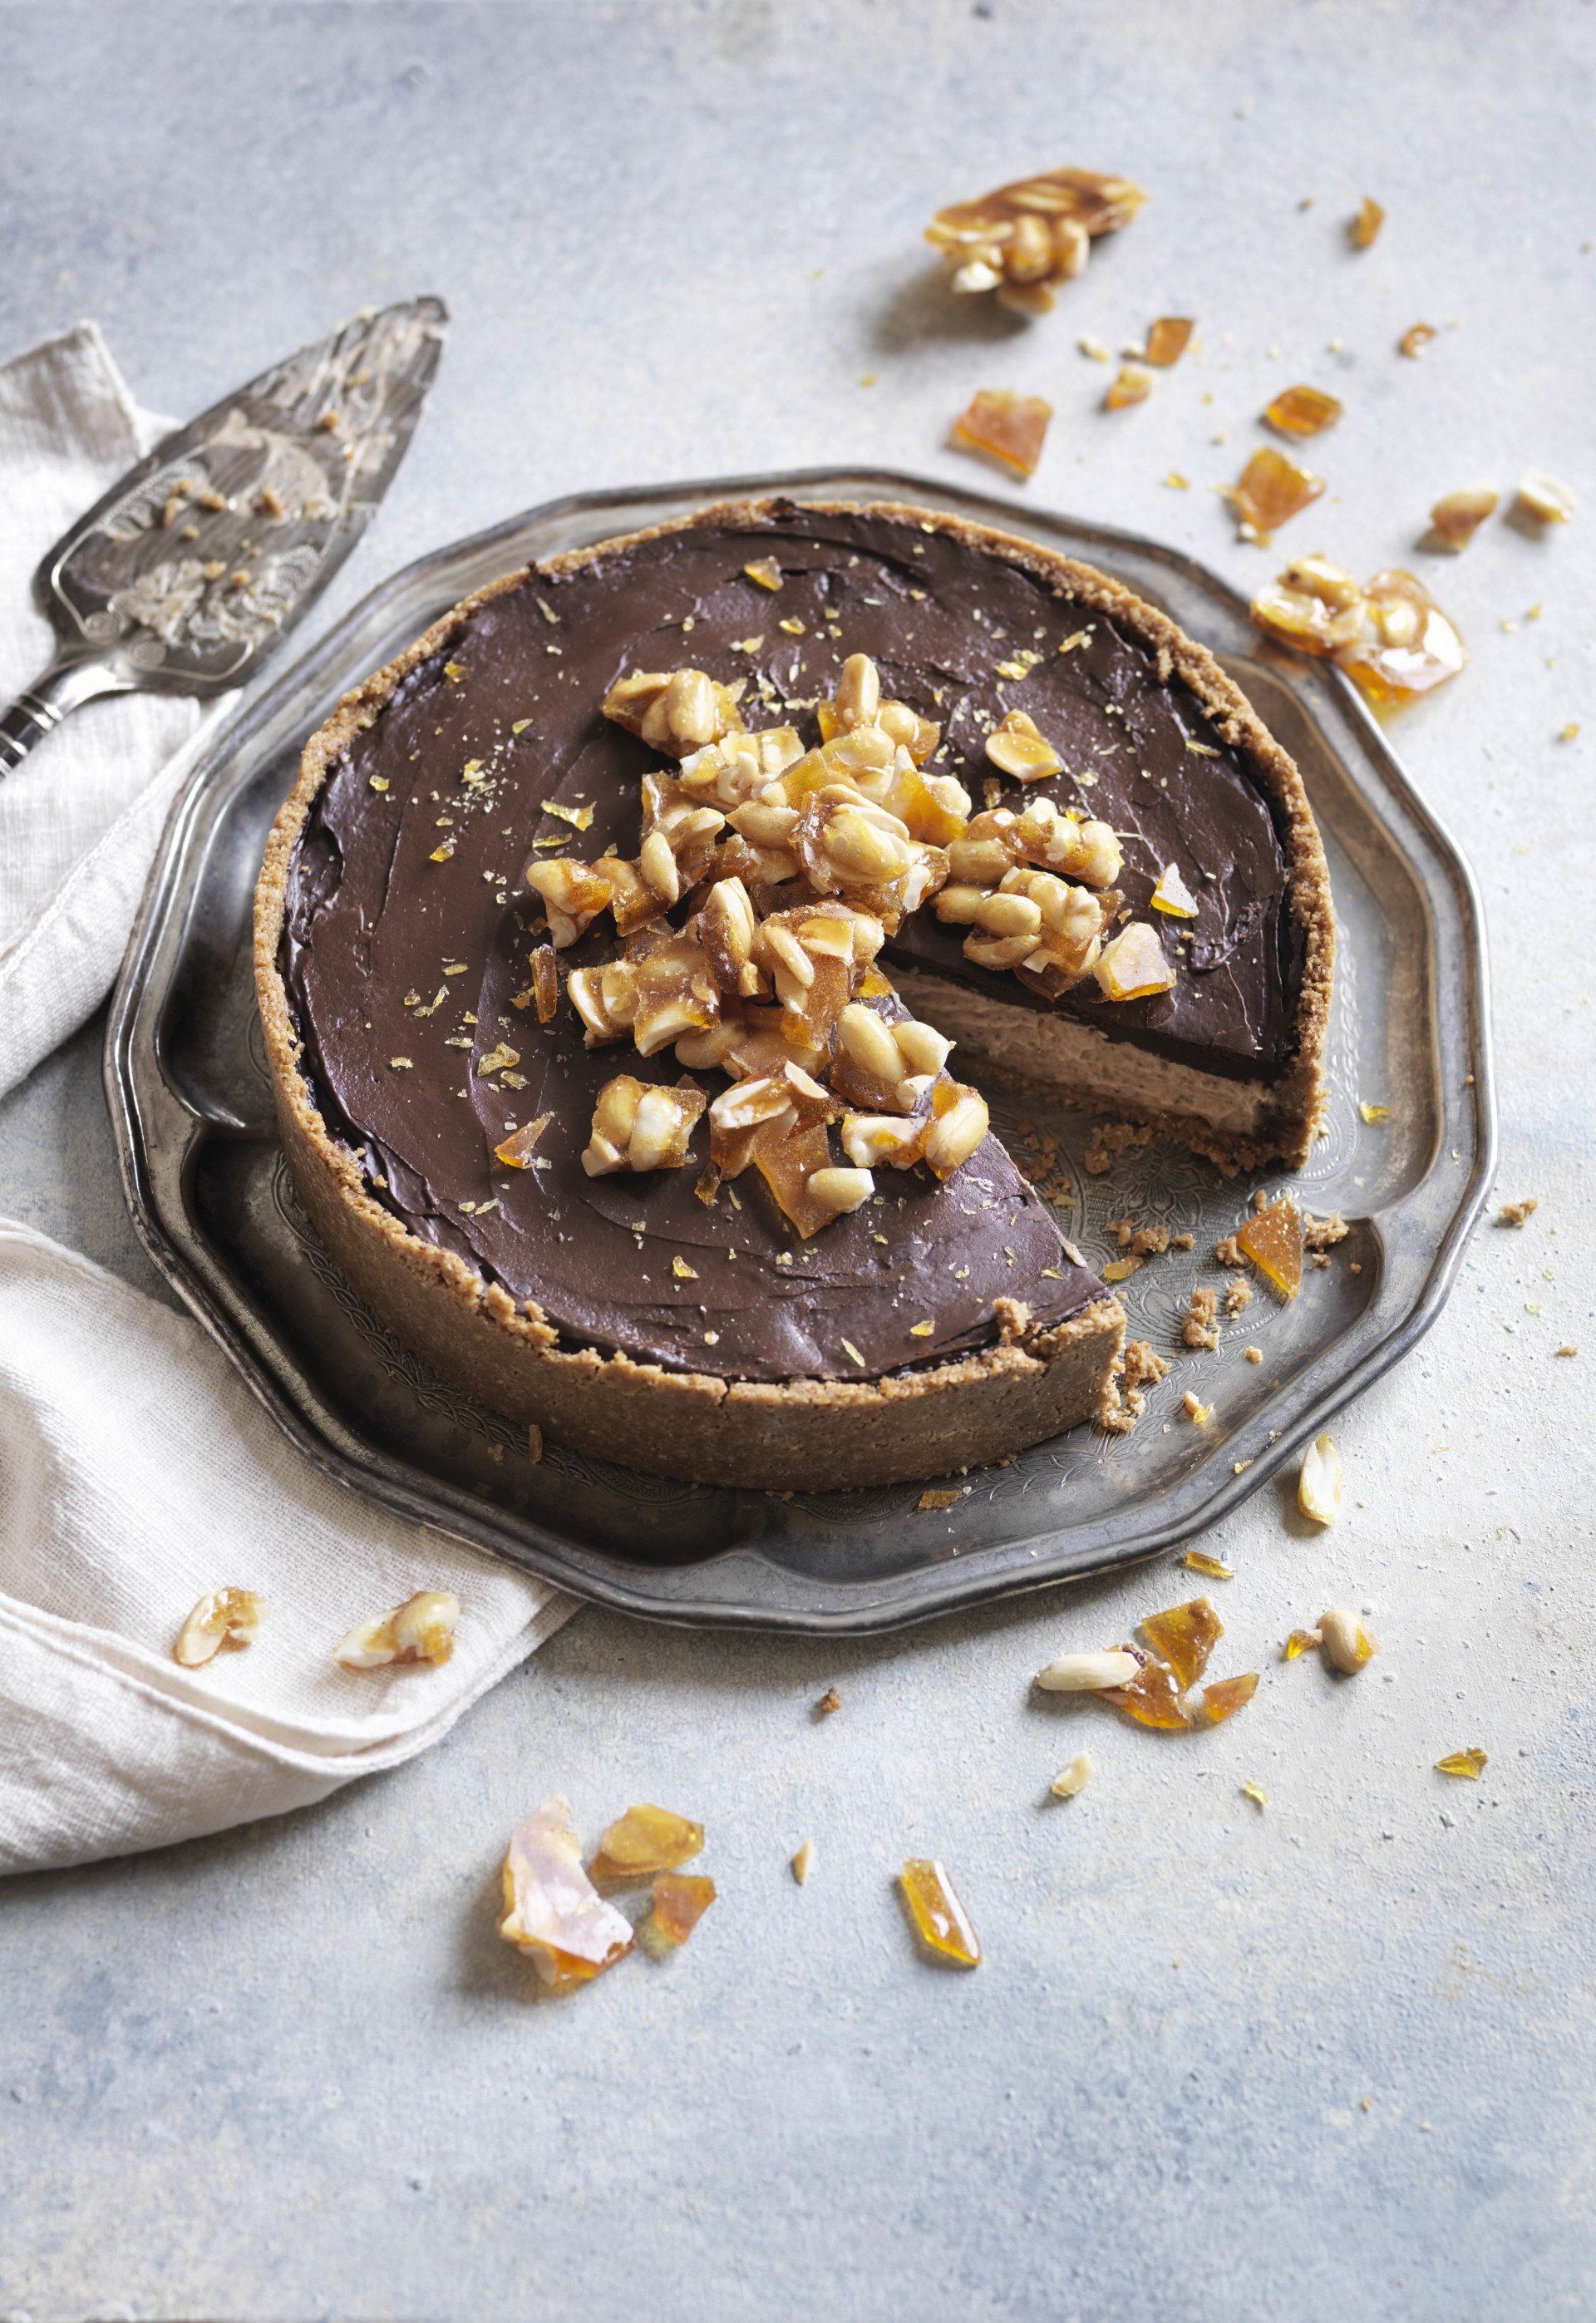
Peanut Butter Cheesecake
"I make no apologies for this cake – it is laden with calories in every way! It is, however, Ben’s favourite (my son), and I make it for very special occasions. It is not difficult, as the only cooking involved is melting the chocolate for the topping. Feel free to decorate the top of the cheesecake with crushed peanut brittle, chocolates, gold leaf – whatever takes your fancy! – or just leave it plain. If desired, you can halve the mixture and make individual cheesecakes in muffin trays – they’re great fun, although a little fiddly".
Extract from Hassle Free, Gluten Free by Jane Devonshire (Bloomsbury Absolute, £22). Photography © Mike Cooper
Serves: 8-10
Ingredients
- 300g gluten-free digestive biscuits; I use 2 packs of gluten-free Hob Nobs
- 150g unsalted butter, melted
- 1 x 340g jar of gluten-free crunchy peanut butter (i like the texture but use smooth if you prefer)
- 280g cream cheese
- 2 tablespoons vanilla bean paste
- 125g icing sugar
- 150ml double cream
- For the topping: 100g gluten-free dark chocolate
- 70% cocoa solids, finely chopped
- 100ml double cream
Method
- In a food processor, blitz the biscuits to a fine crumb. Combine the blitzed biscuit crumbs with the melted butter, then use the mixture to line the bottom and halfway up the sides of the tin. Place in the fridge for 30–40 minutes until set and hard.
- Put the peanut butter, cream cheese, vanilla bean paste and icing sugar into a food processor and whizz until fully combined; alternatively you can use an electric hand whisk for this.
- In a separate large bowl, whisk the double cream until soft peaks appear. Take a tablespoon of the peanut butter mixture and, using a spatula, gently fold into the cream, trying to retain as much air in the mix as possible. Repeat until all of the peanut butter mixture is incorporated into the cream.
- Add the mix on top of the crumbed biscuit base, being careful not to disturb the sides. Place in the fridge and chill for 2–3 hours until set. You can freeze this now, or keep it covered in the fridge for up to 48 hours.
- For the topping, place the chocolate in a large bowl. Heat the cream in a pan until just boiling, then pour over the chocolate and whisk until the chocolate is melted and the mixture is smooth.
- Take the cheesecake straight from the fridge and pour over the ganache, working from the centre outwards. Return to the fridge for 30 minutes or until the chocolate is set.
- Remove the cheesecake from the tin – you will probably need to carefully run a knife around the edge of the cake – and serve.
You may also like…

Watercress Soup
This delicious recipe was created by Love British Food Ambassador Raymond Blanc OBE.

Harissa Mac & Cheese
by Jane Devonshire
Peanut Butter Cheesecake
by Jane Devonshire
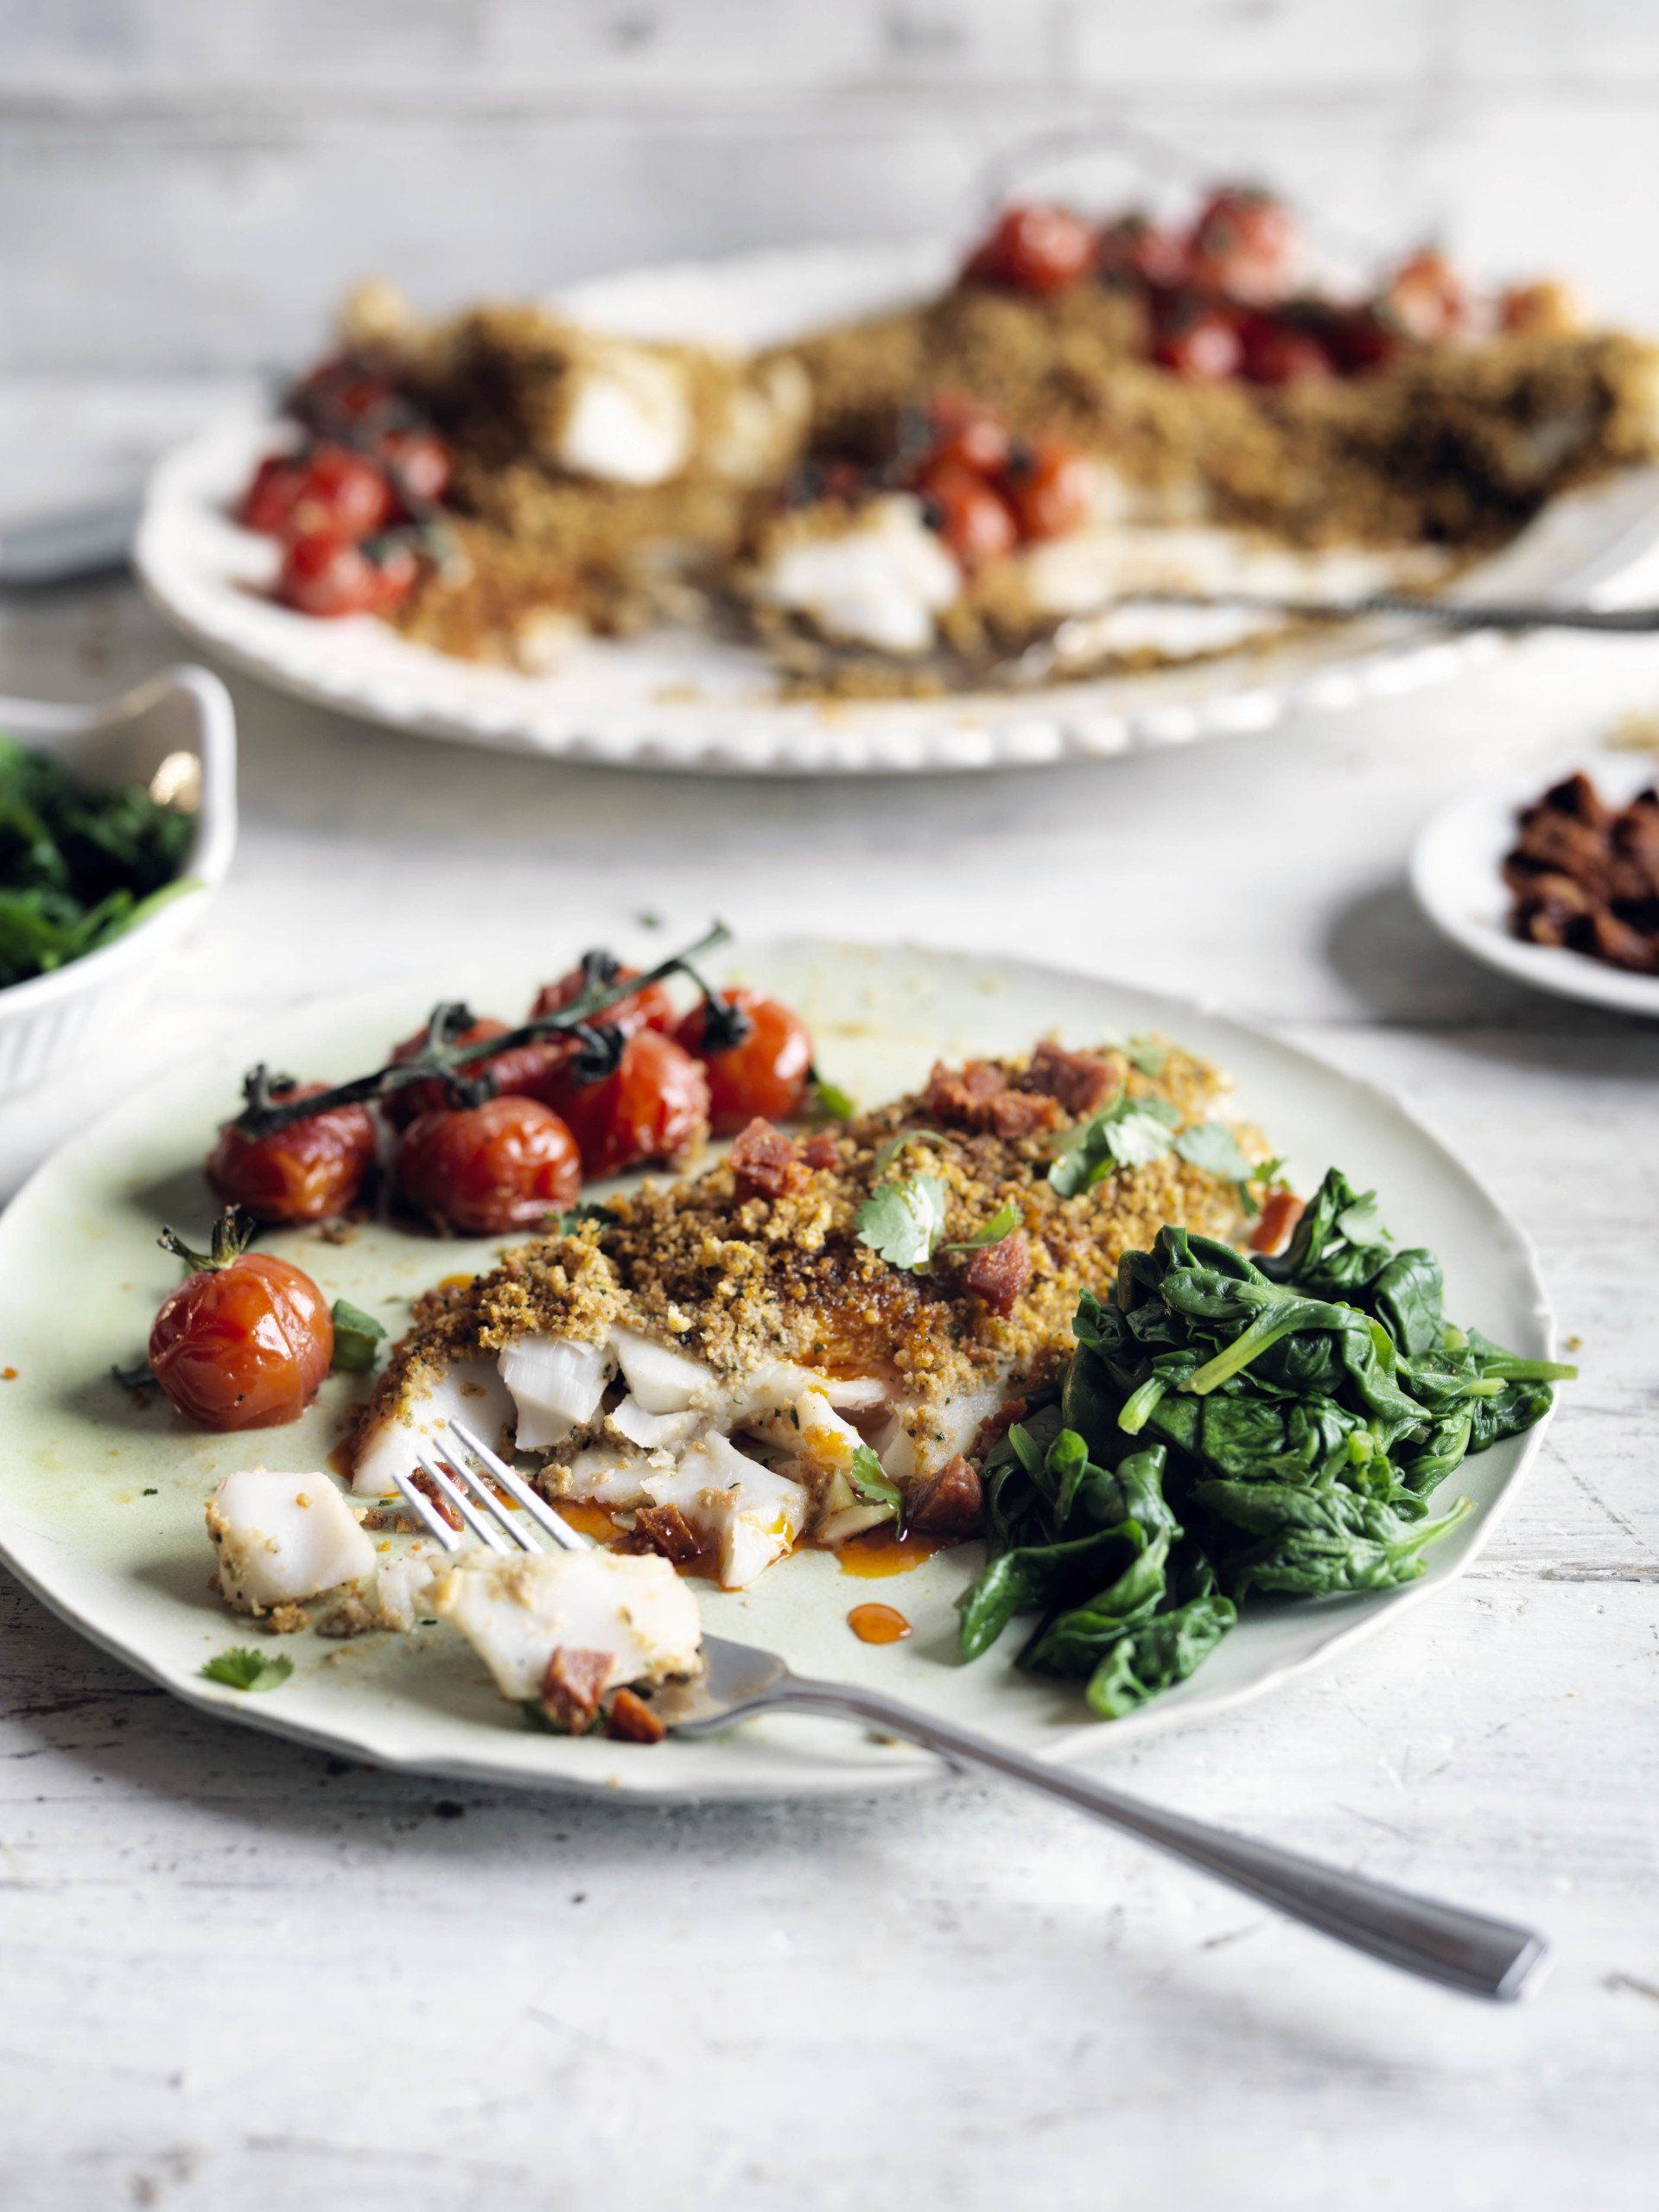
Roast Cod with a Chorizo and Herb Crumb with Roast Cherry Tomatoes
by Jane Devonshire
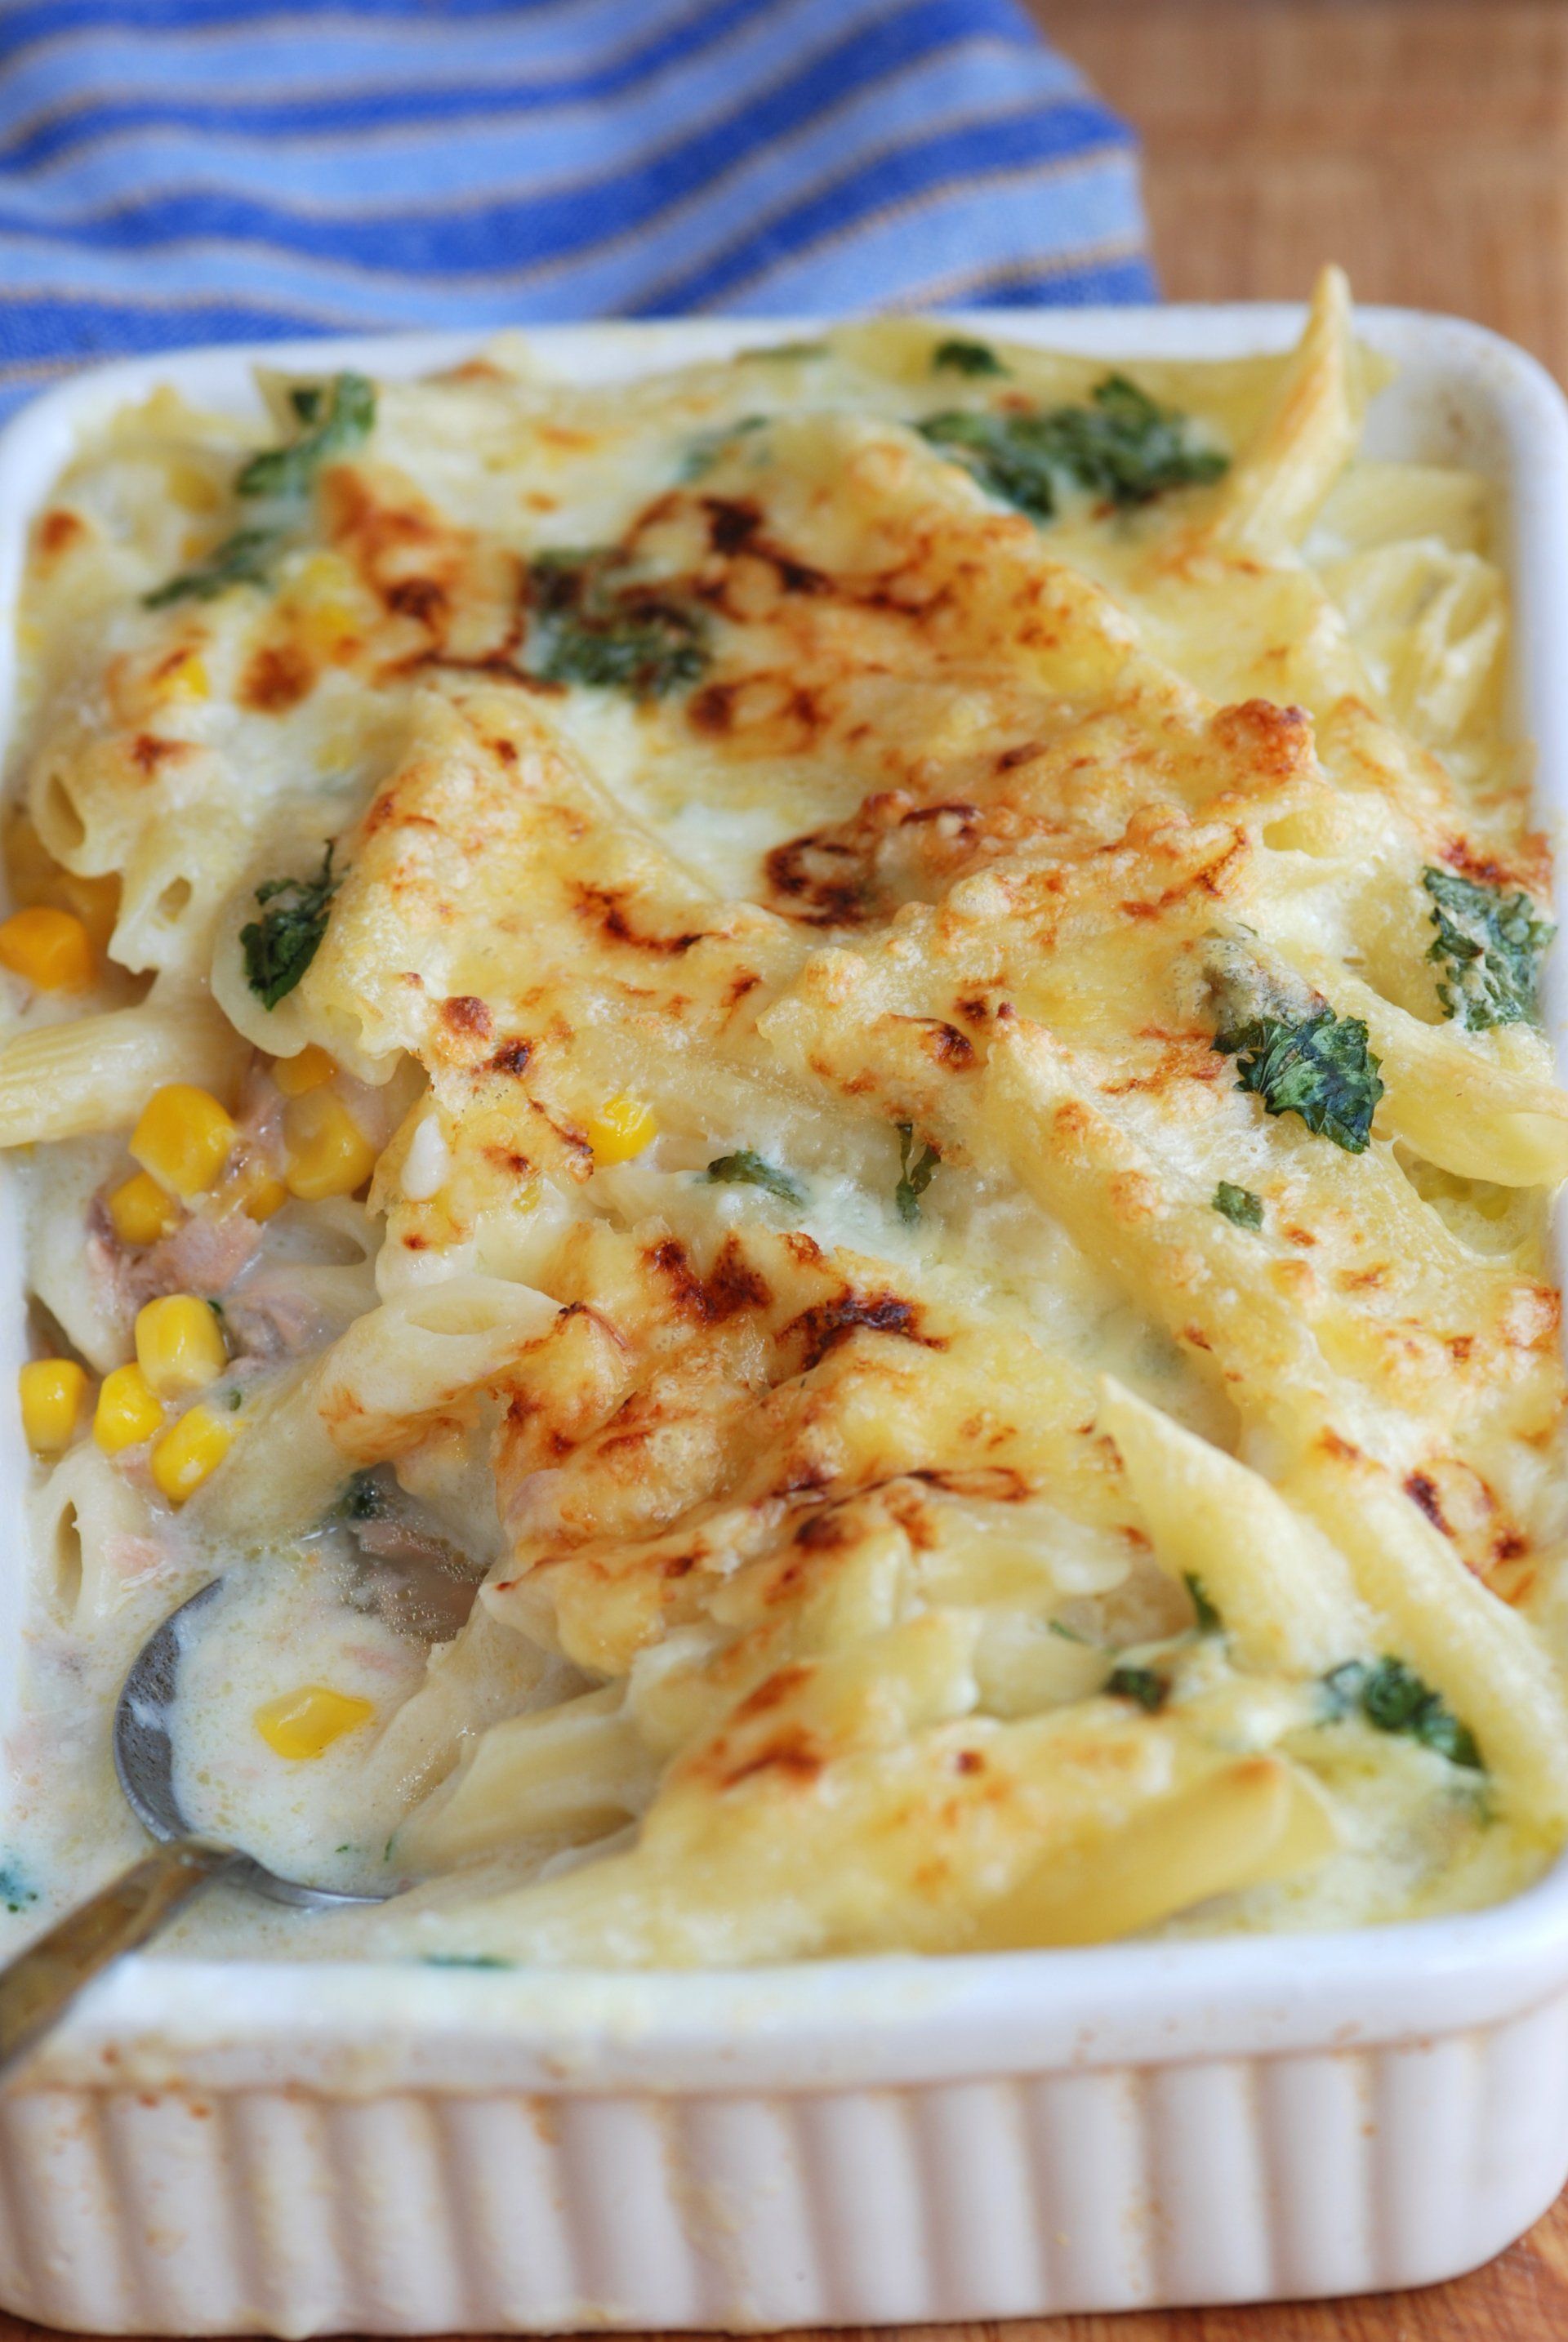
Gluten Free Tuna Pasta Bake
by Essential Cuisine
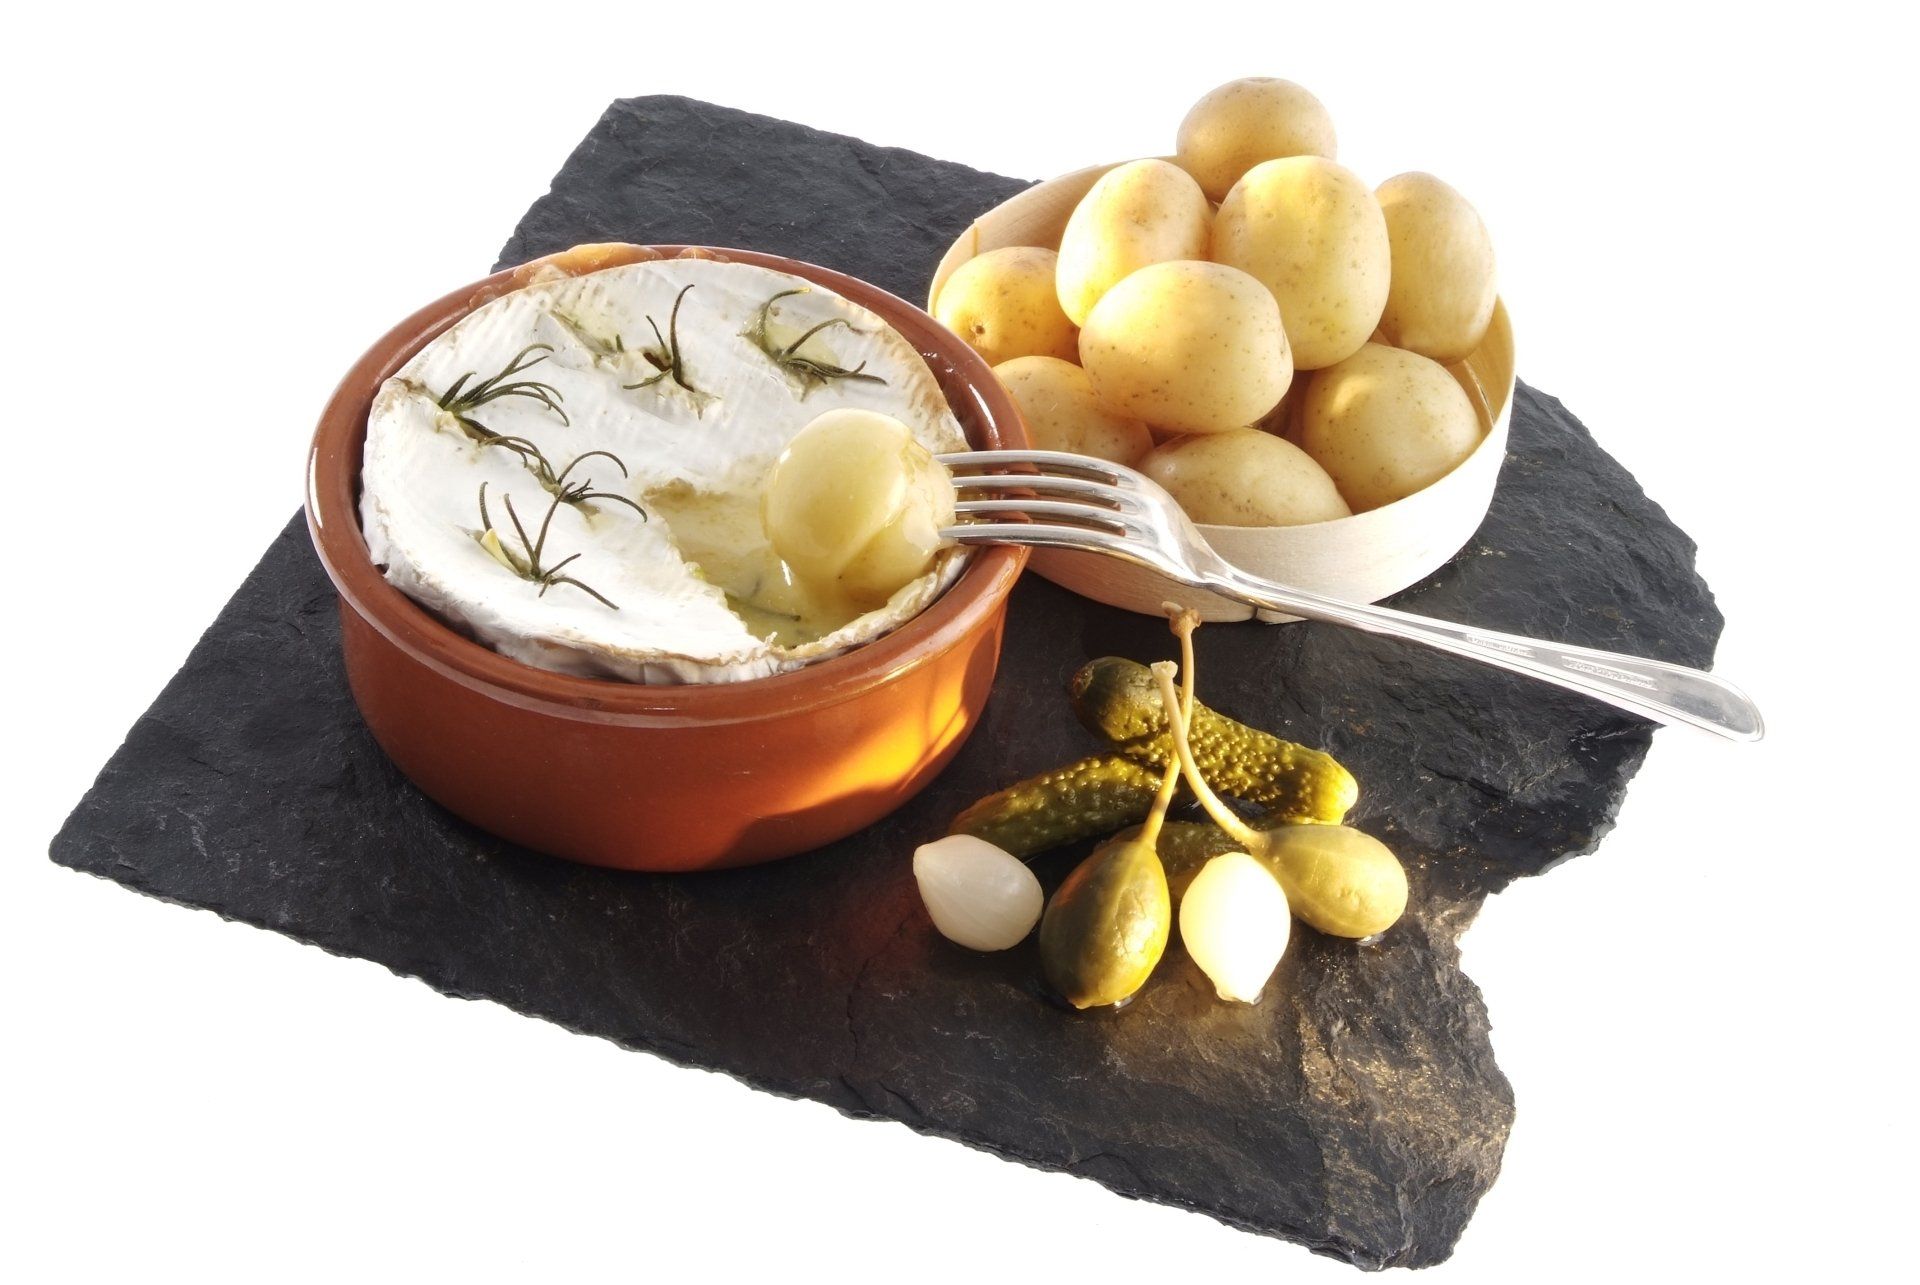
Baked Tunworth with Dipping Potatoes

Devonshire Clotted Cream Panna Cotta, Elderflower Poached Strawberries, Meringue
by Whiting & Hammond

Fairburn Fizz
by Celebrity Chef Rachel Green for Fairburn's Eggs
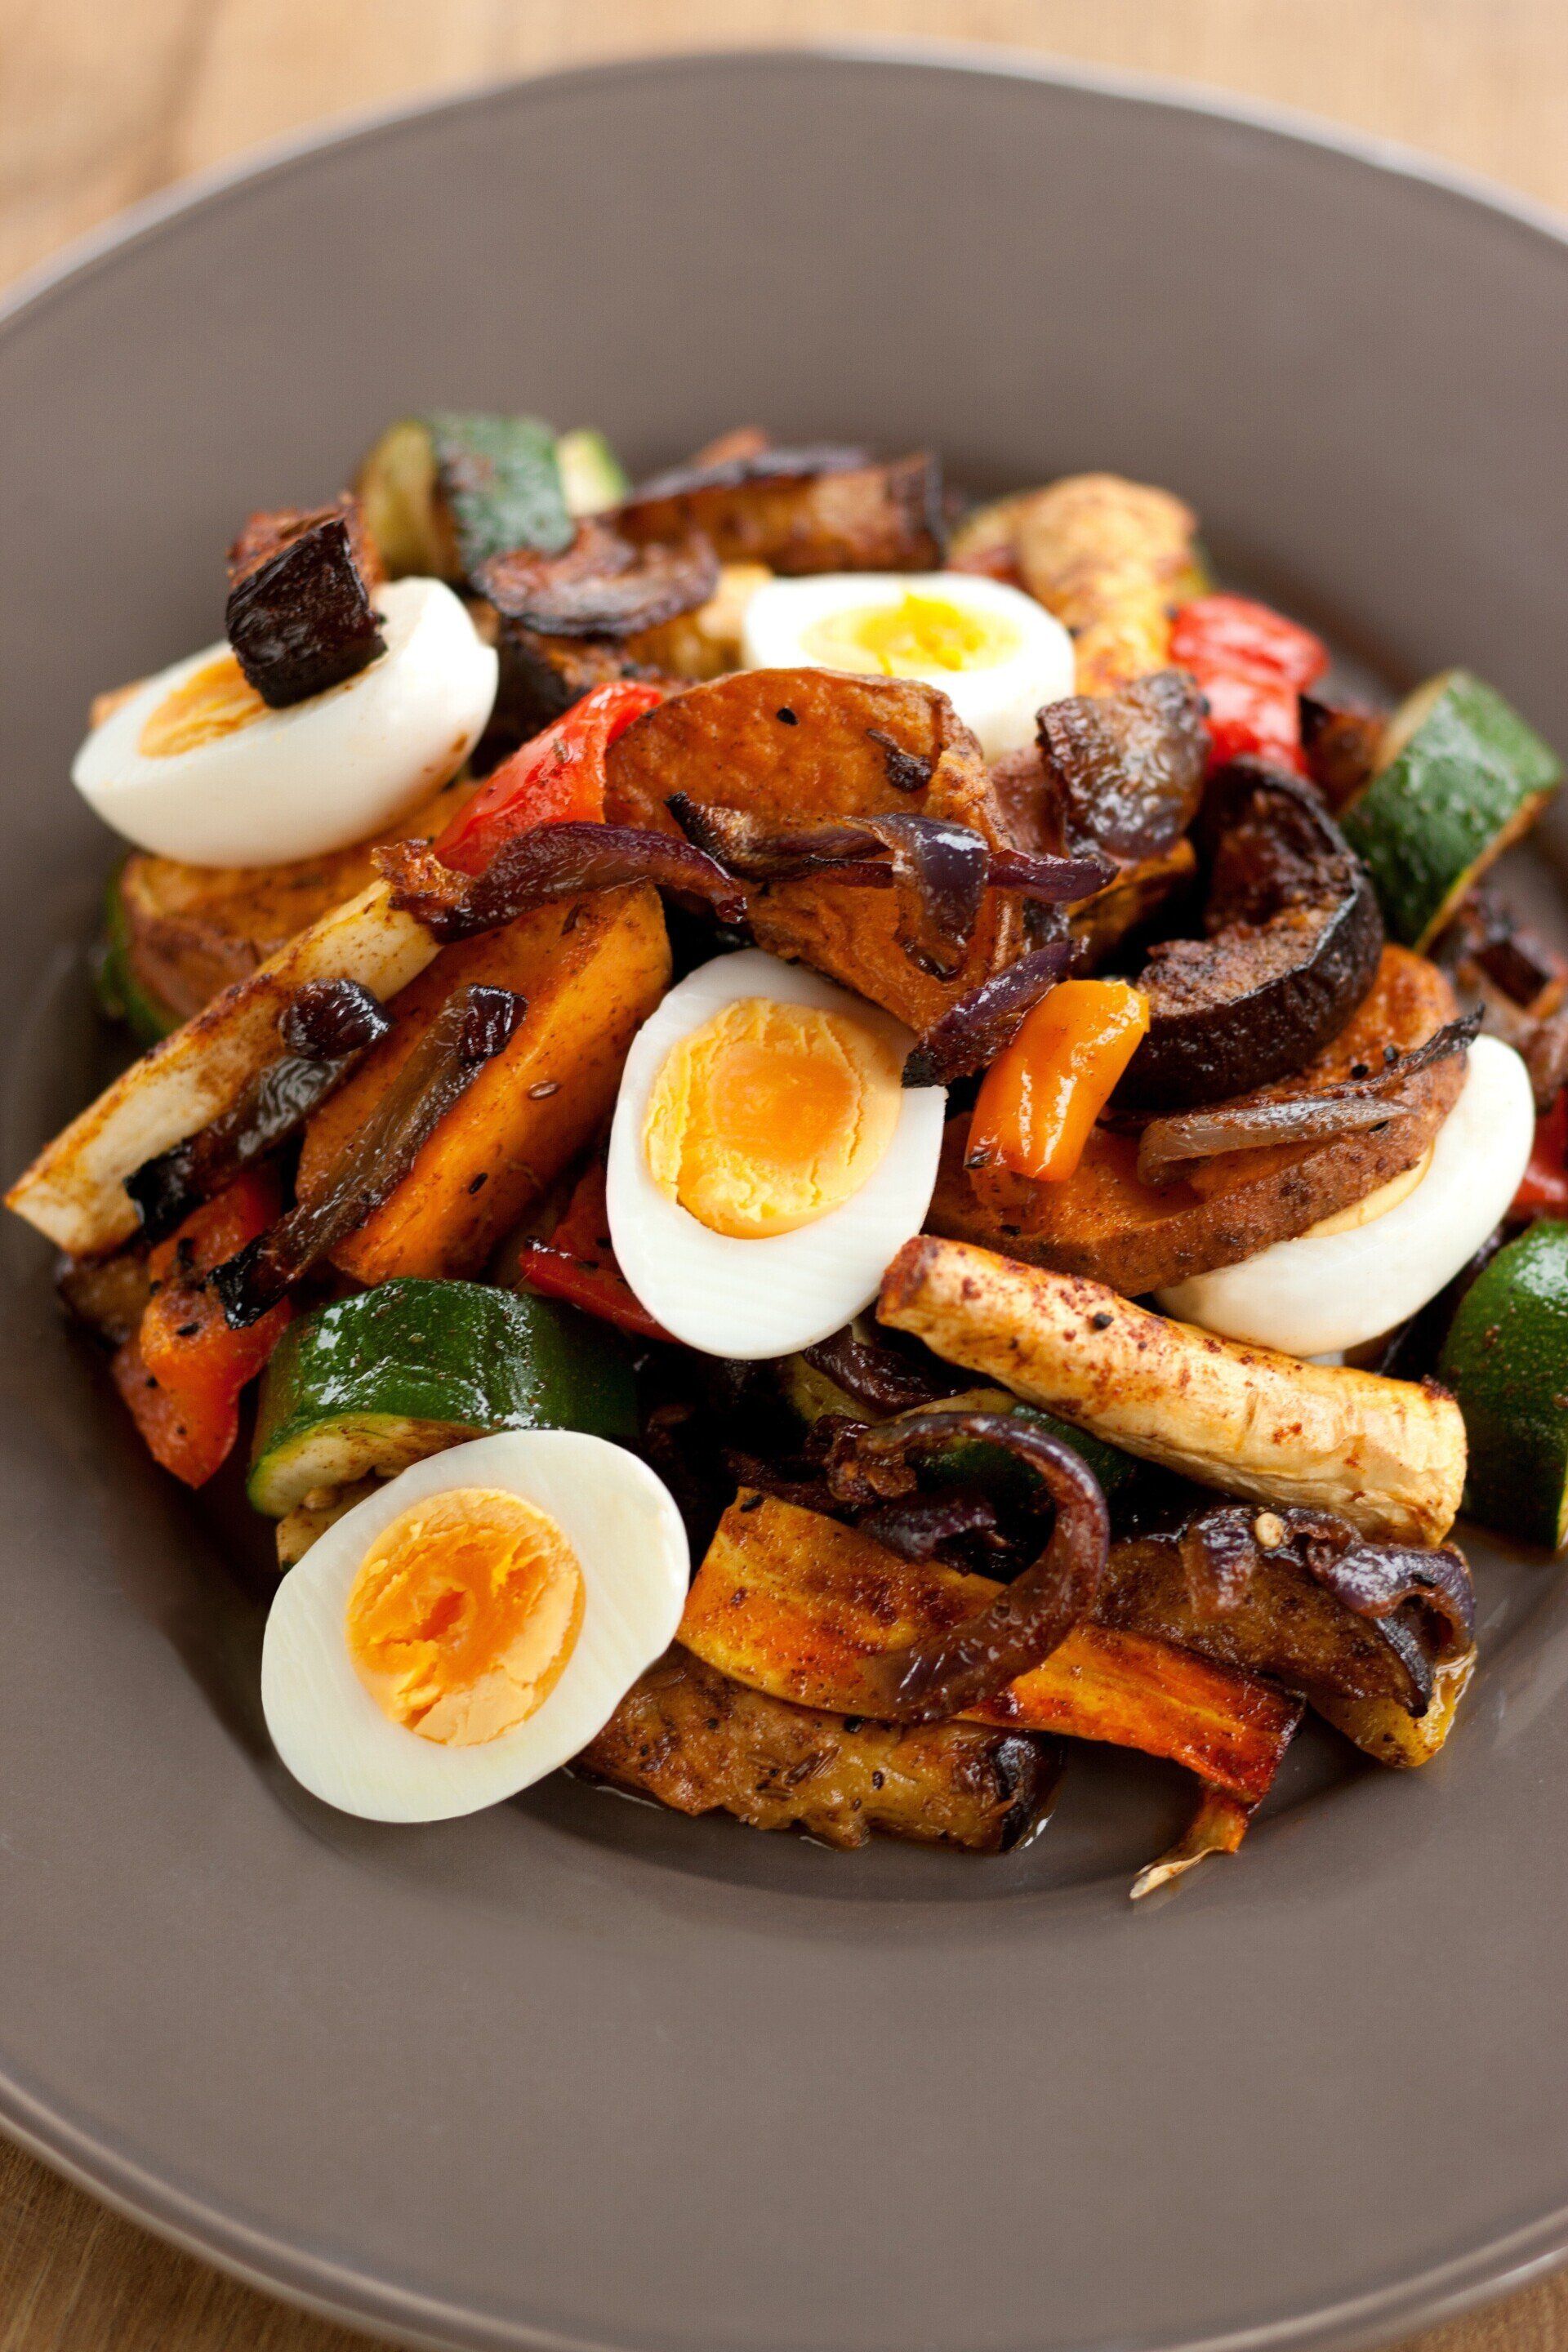
Harissa Roasted Sweet Potato, Vegetable and Egg Salad
by Celebrity Chef Rachel Green for Fairburn's Eggs
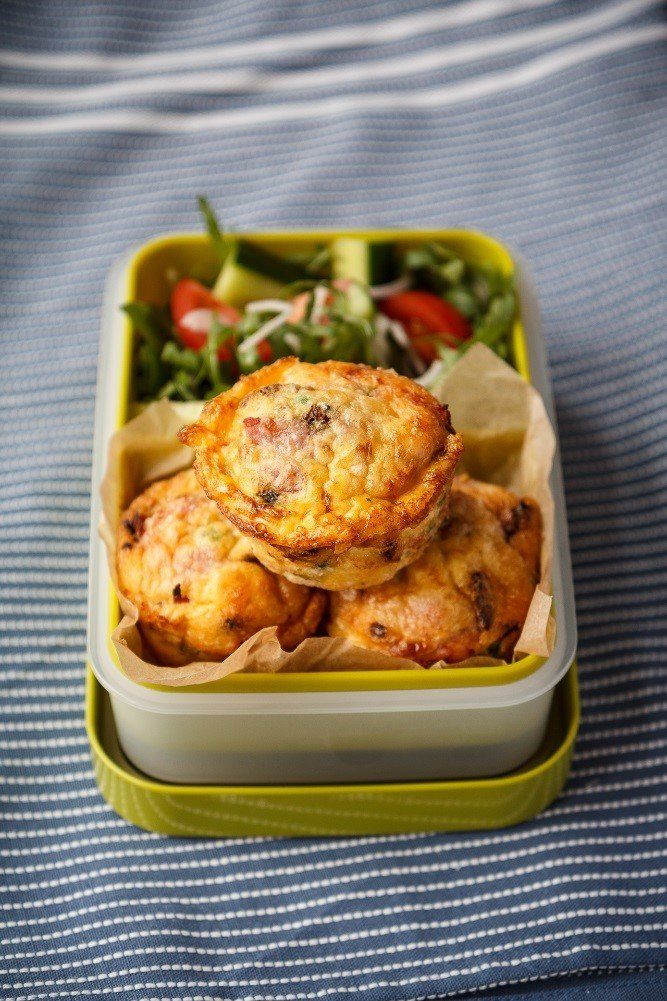
Muffin tin frittatas with shallots, roast new potatoes, ham and peas
by UK Shallots

Asparagus, tuna and bean salad with shallot and caper vinaigrette
by UK Shallots
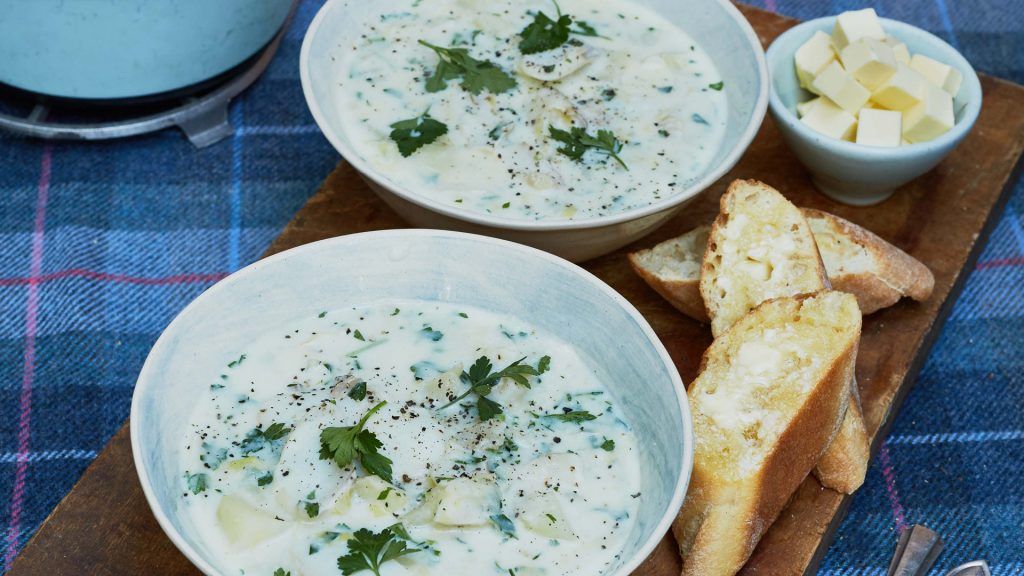
Classic Scottish Cullen Skink
by Liz Earle, MBE

Cured Fillet of Mackerel, Poached Rhubarb, Radish & Watercress Salad
Cuttlefish with Watermelon & Lime, Tomato, Feta, Chilli & Almond Salad
by Seas the Day
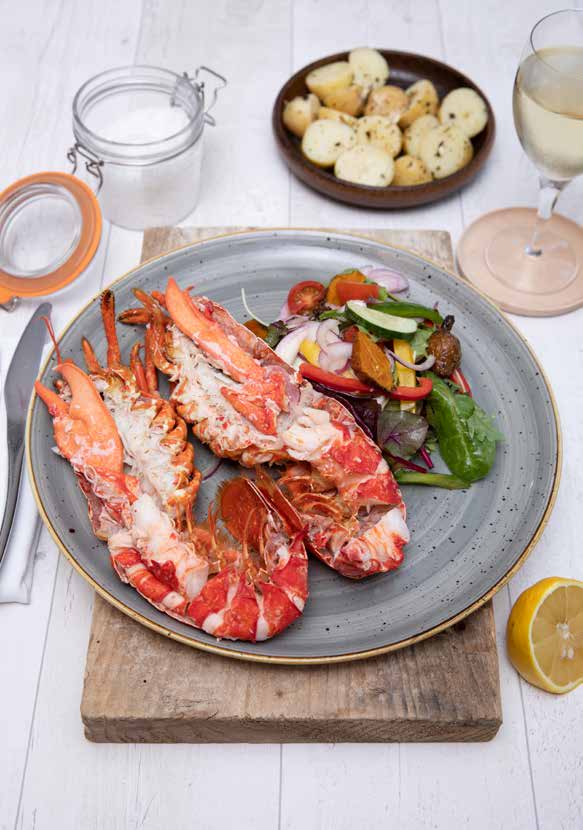
Lobster with a vibrant summer side alad and lemon and seaweed new potatoes
by Seas the Day

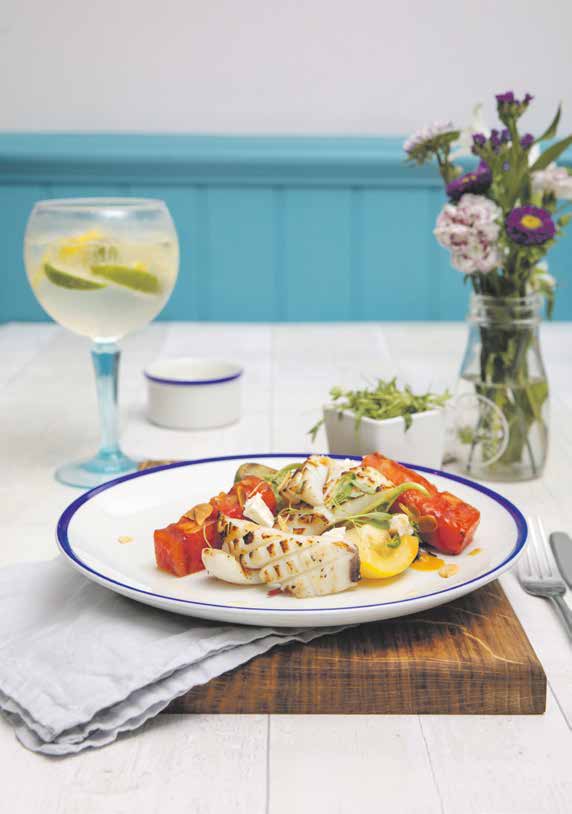
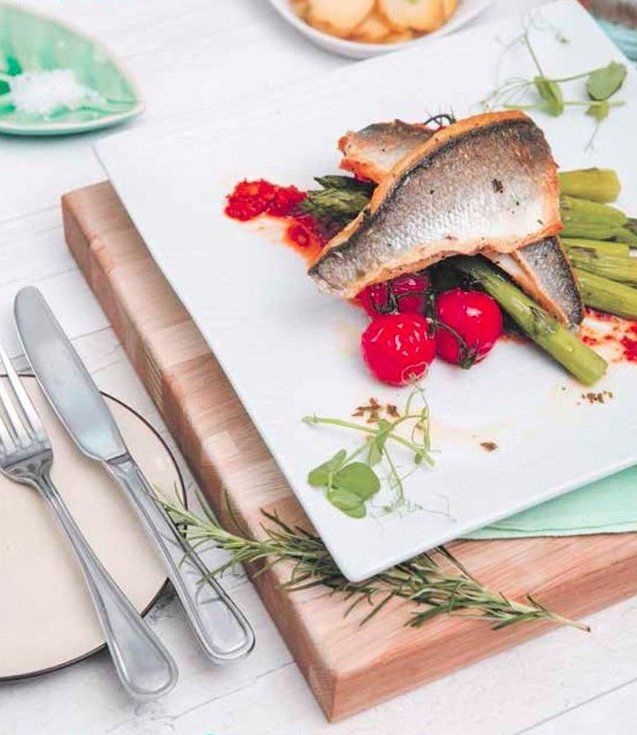
Sea Bass with Asparagus, Cherry Tomatoes and Basil Butter
by Seas the Day
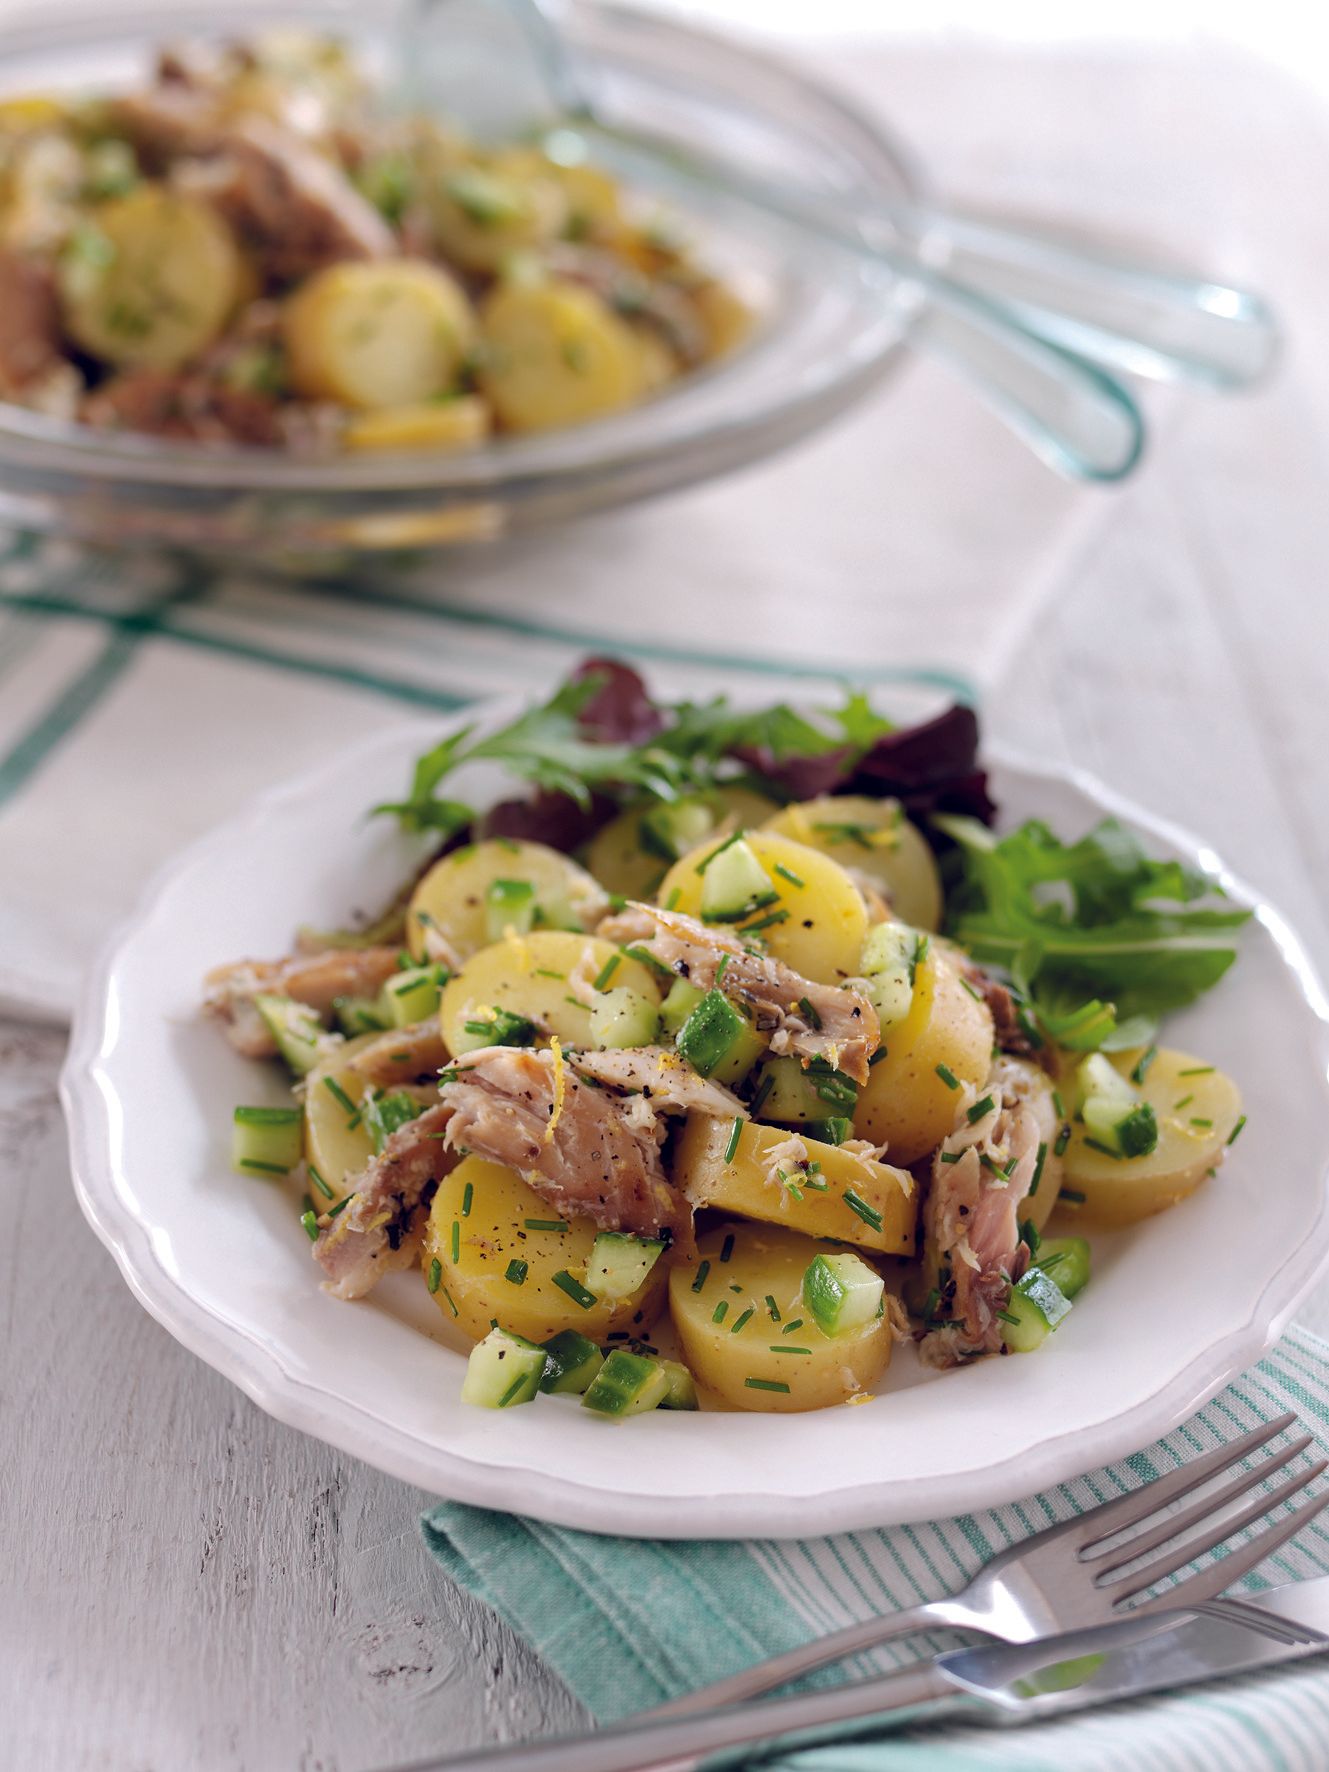
Warm Mackerel & Potato Salad
by Potato Council
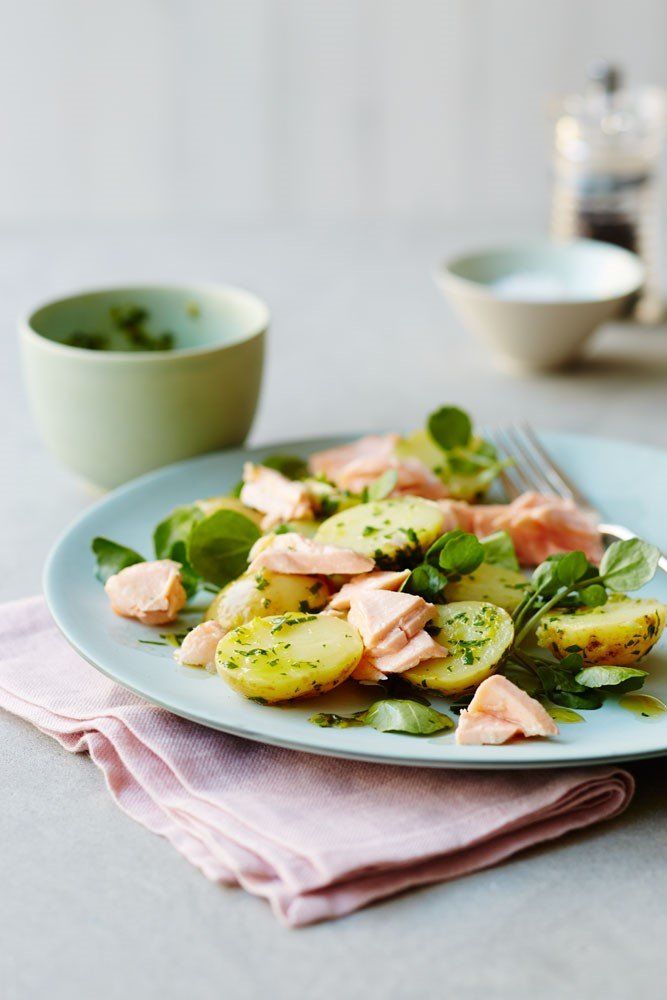
Warm British Gem Potato Salad with Parsley Dressing and Poached Salmon
By Greenvale Potatoes
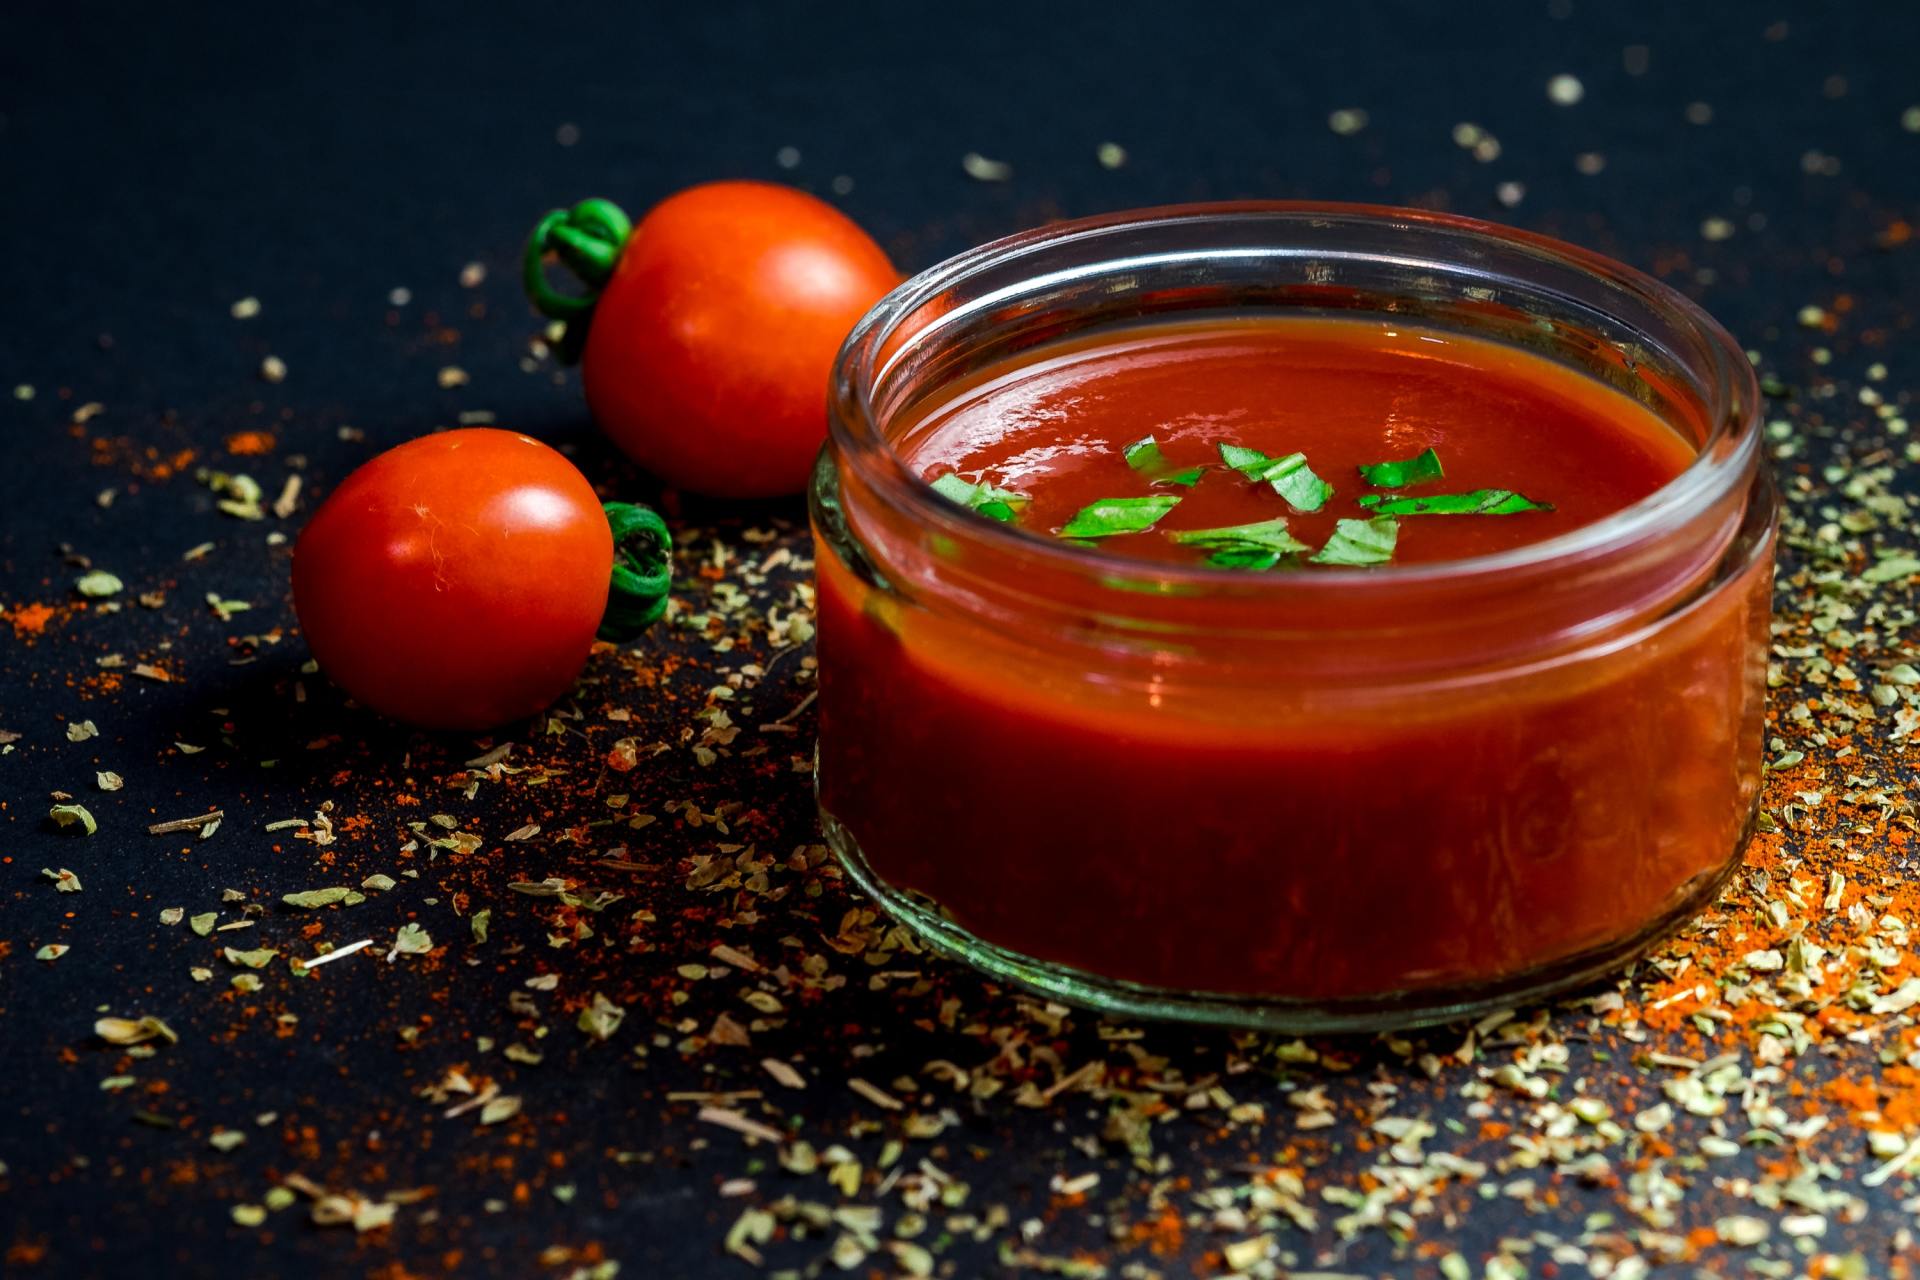
Al's Homemade Passata
by Al Crisci

Pea & Mint Pesto Soup
by Seasoned Cookery School

Barbecued Corn on the Cob with Shallot Herb Butter
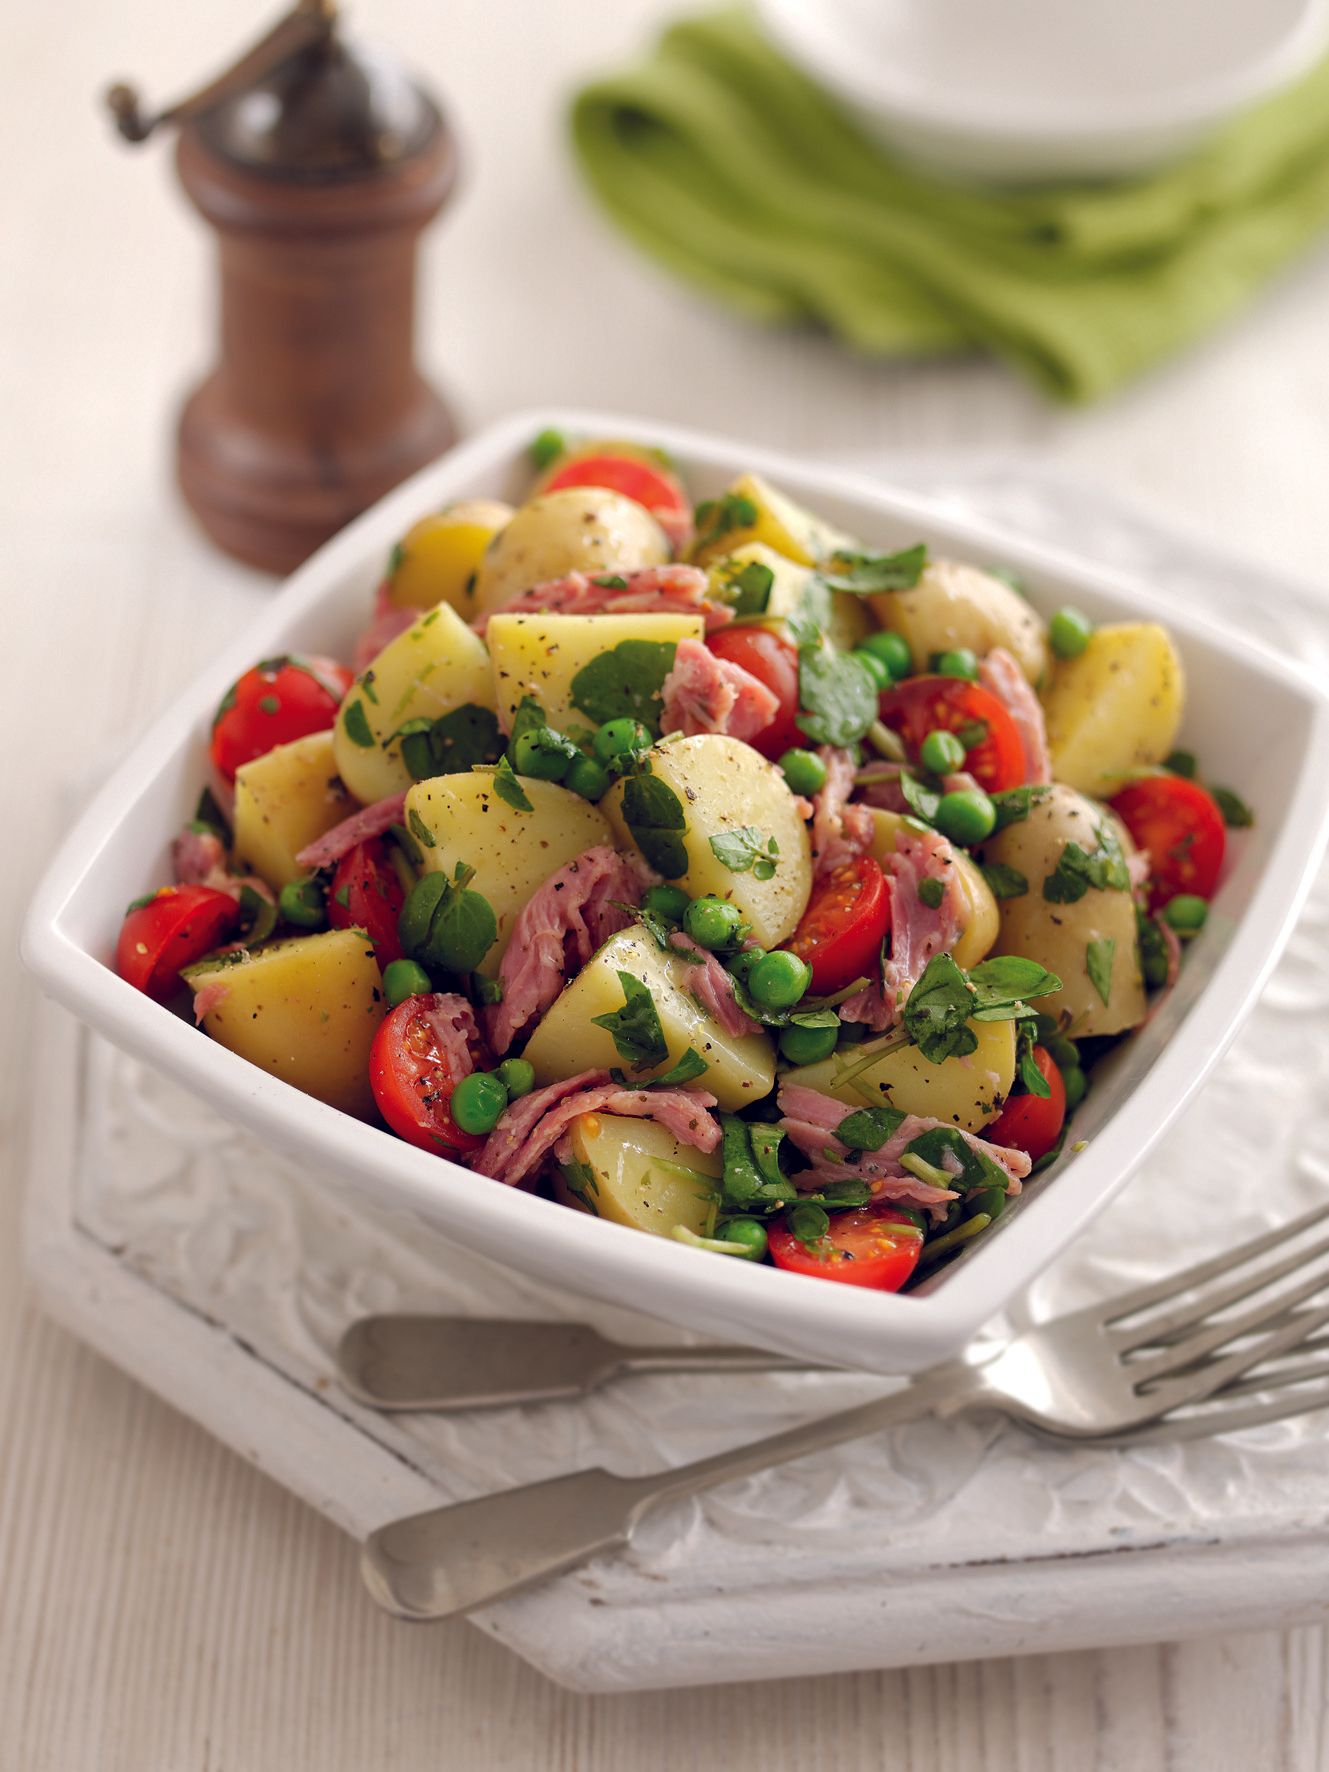
Potato Salad with Watercress, Peas & Ham
by Love Potatoes
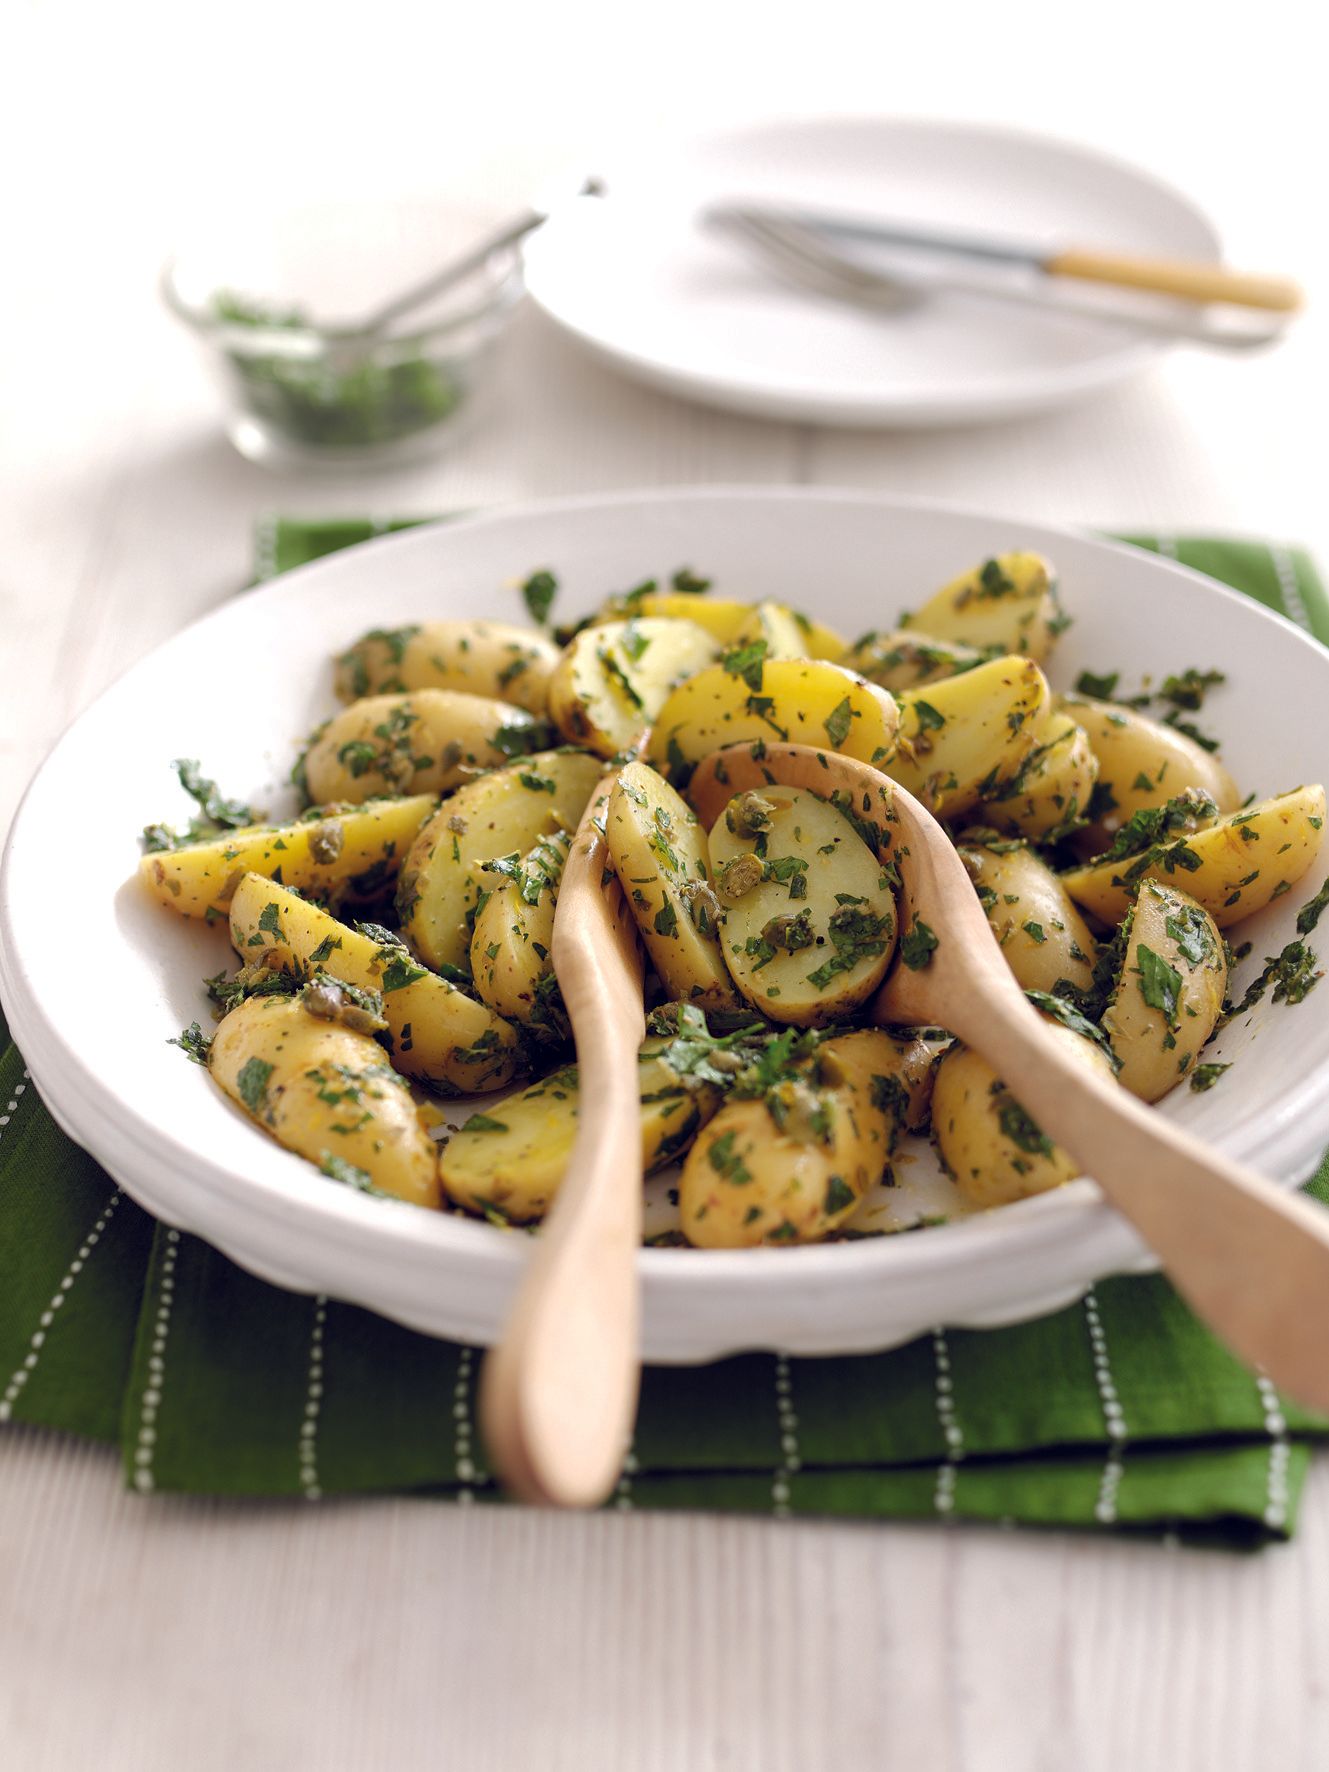
Potatoes with Salsa Verde
by Potato Council
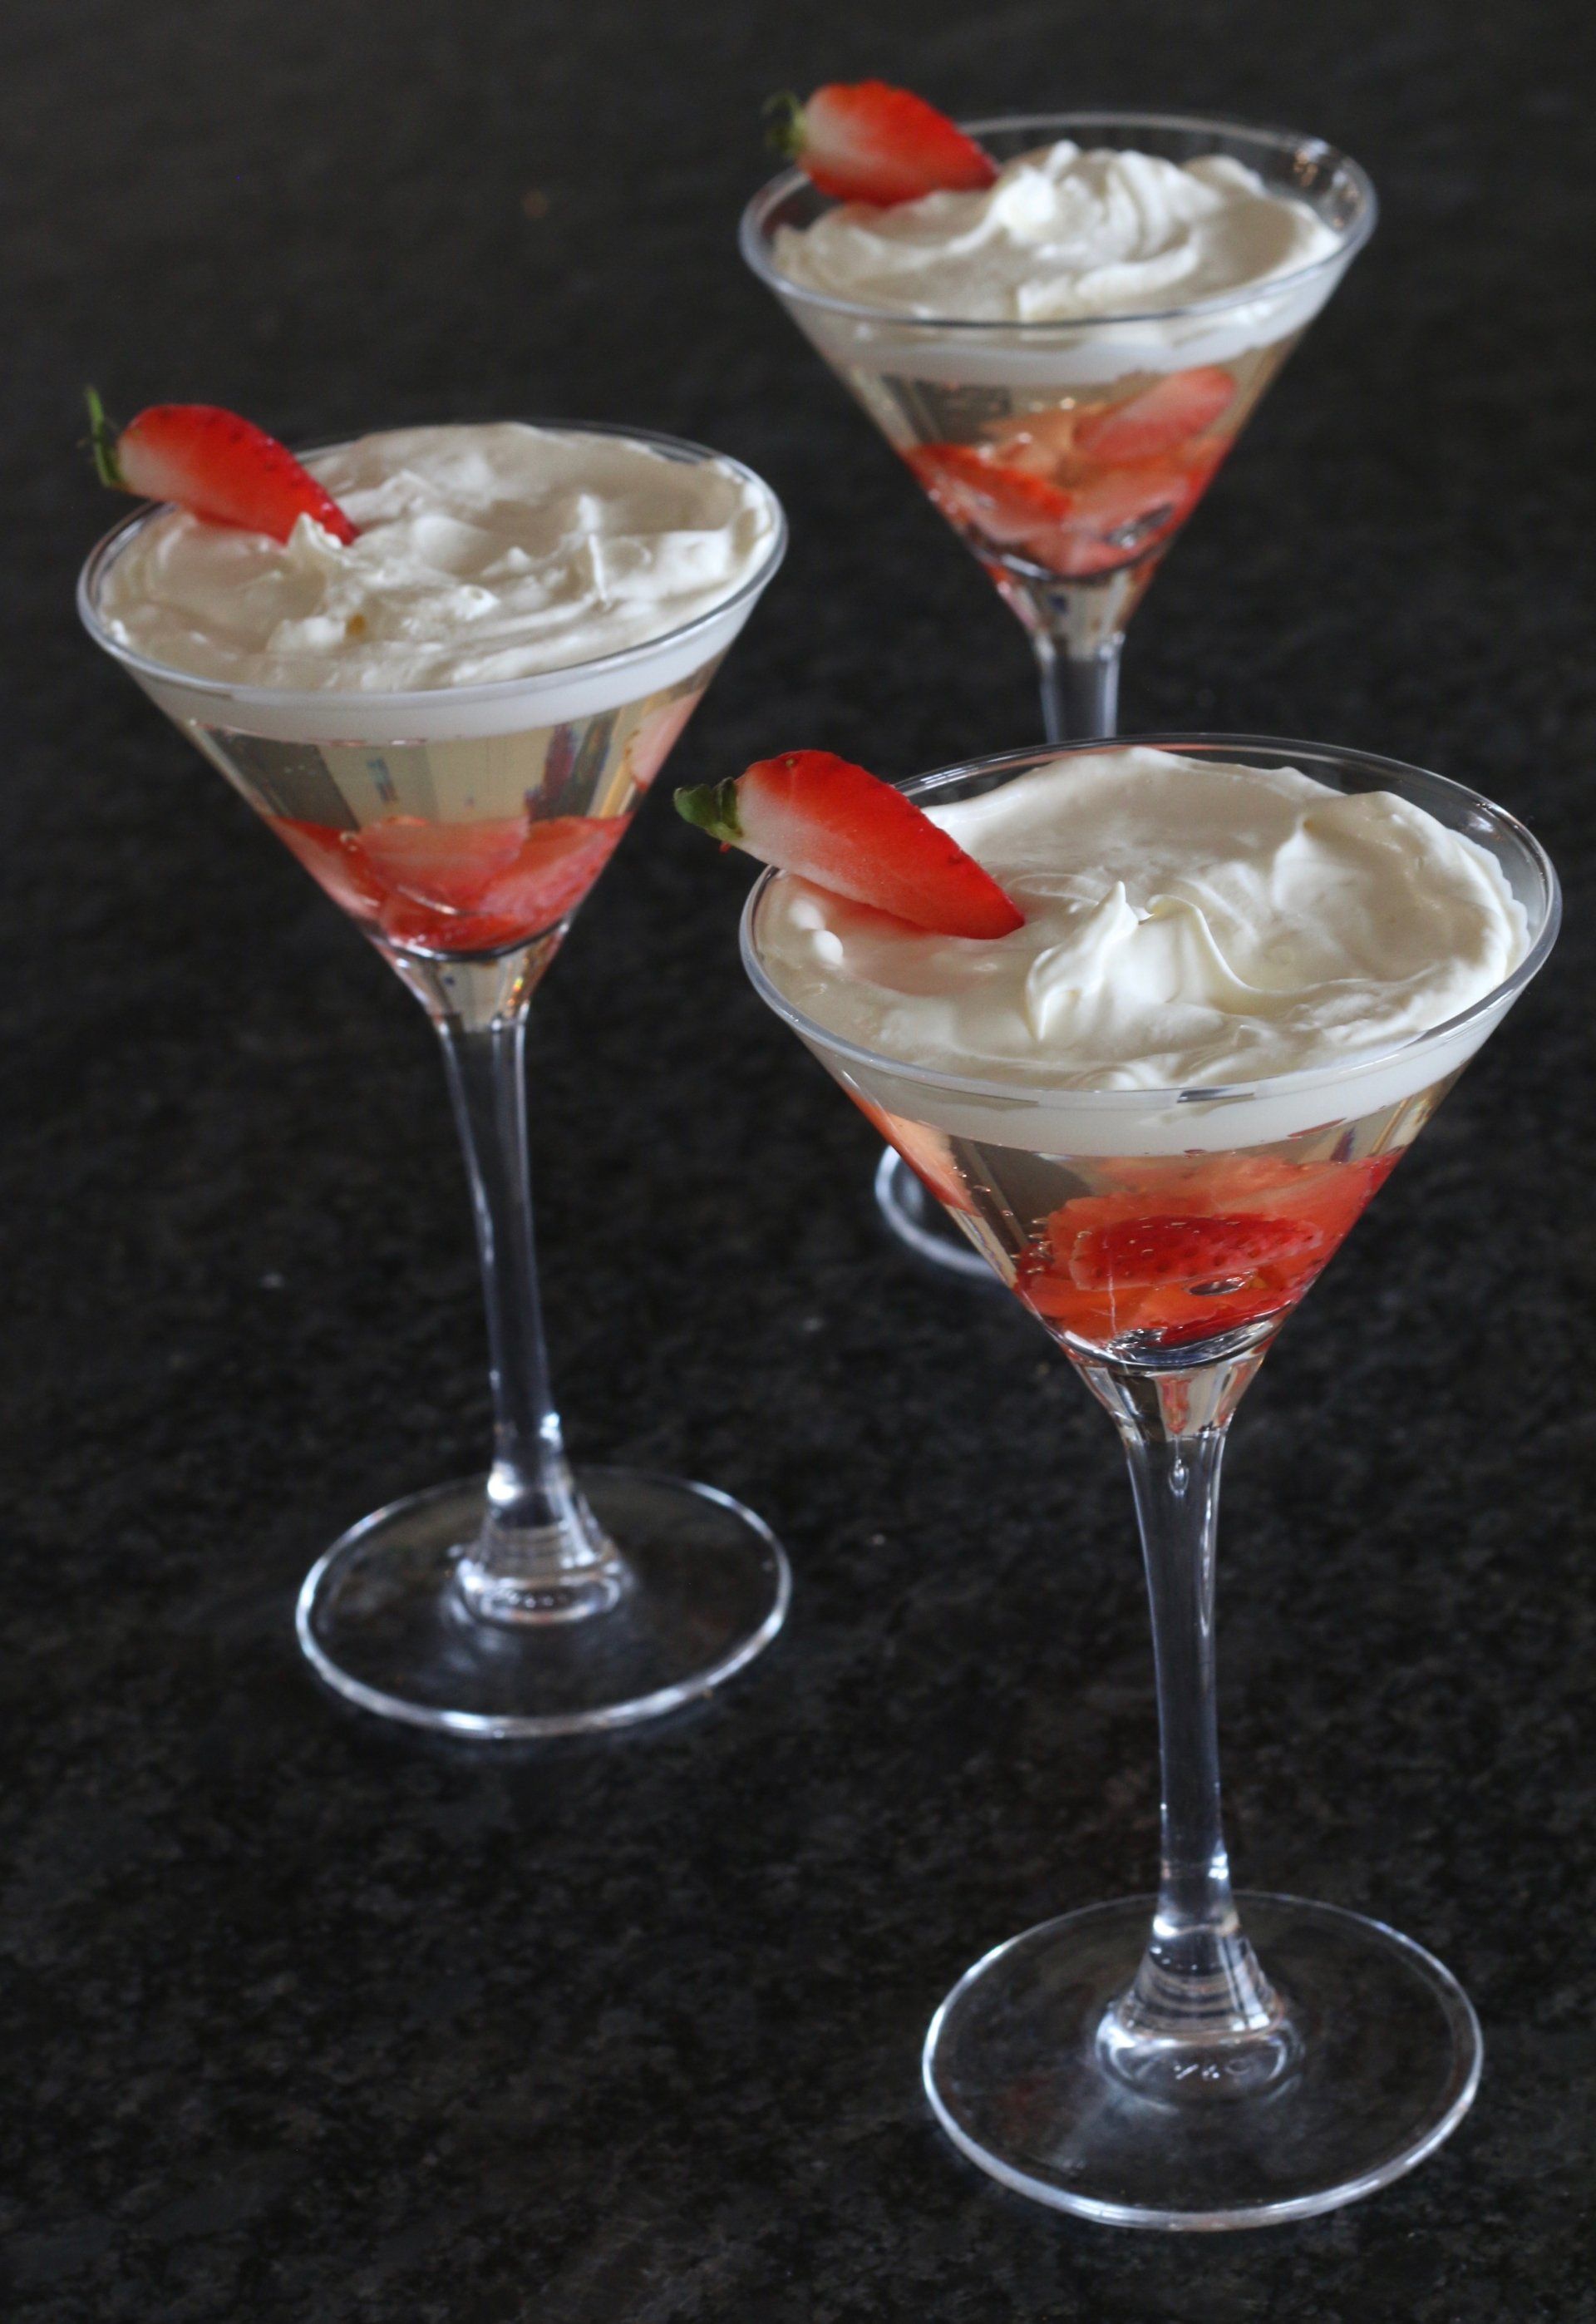
Prosecco & Strawberry Jellies
by Seasoned Cookery School
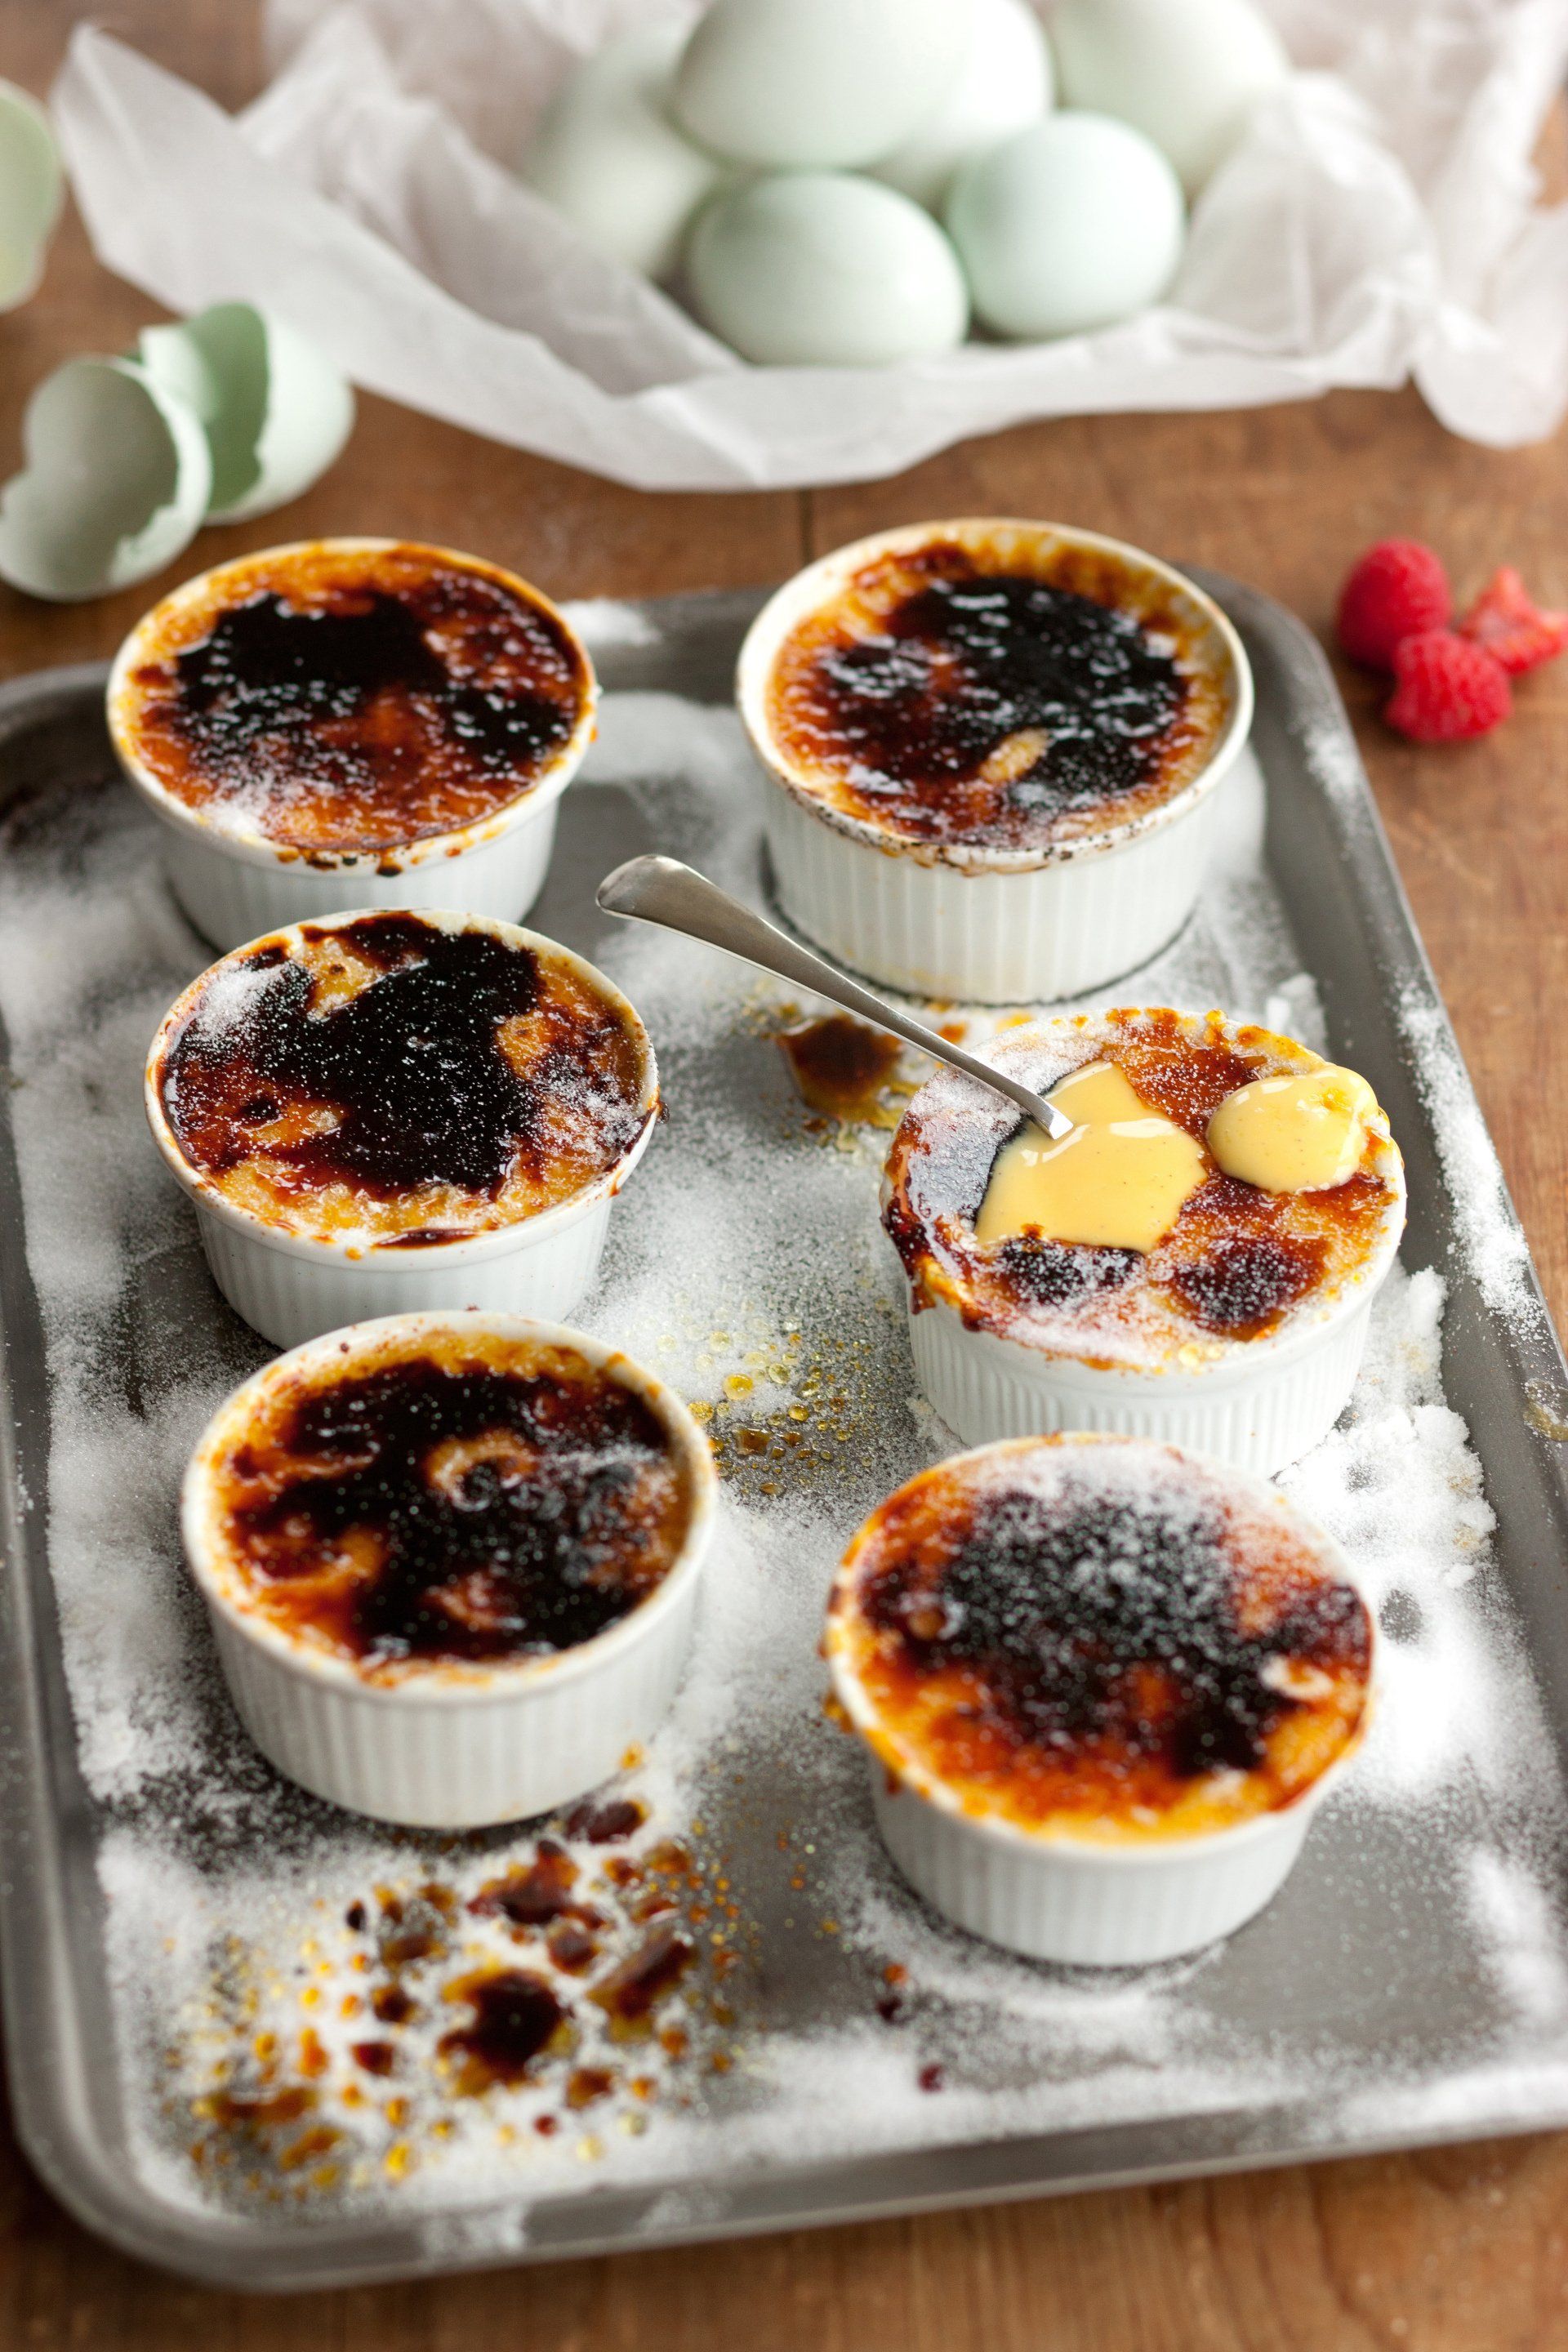
Raspberry Creme Brulee
by Celebrity Chef Rachel Green for Fairburn's Eggs

Spicy Potato with Chicken & Tomato
by Potato Council

Minted Pea and Watercress Soup
by Liz Earle, MBE

Wild Garlic and Beetroot Omelette

Partridge, Woodland Mushrooms & Kale

Stilton Lamb Chops with Mango Salsa
by Alex Hollywood

Welsh Lamb Leg Steaks with Autumn Chutney
by Eat Welsh Lamb

Welsh Lamb Loin Chops stuffed with Stilton served with Chuky Veg Wedges
by Eat Welsh Lamb
Seab Bass with Asparagus, Cherry Tomatoes & Basil Butter
by The Seal, Selsey for Seas the Day
